How to crochet the sweetest birthday cakes: Free Pattern
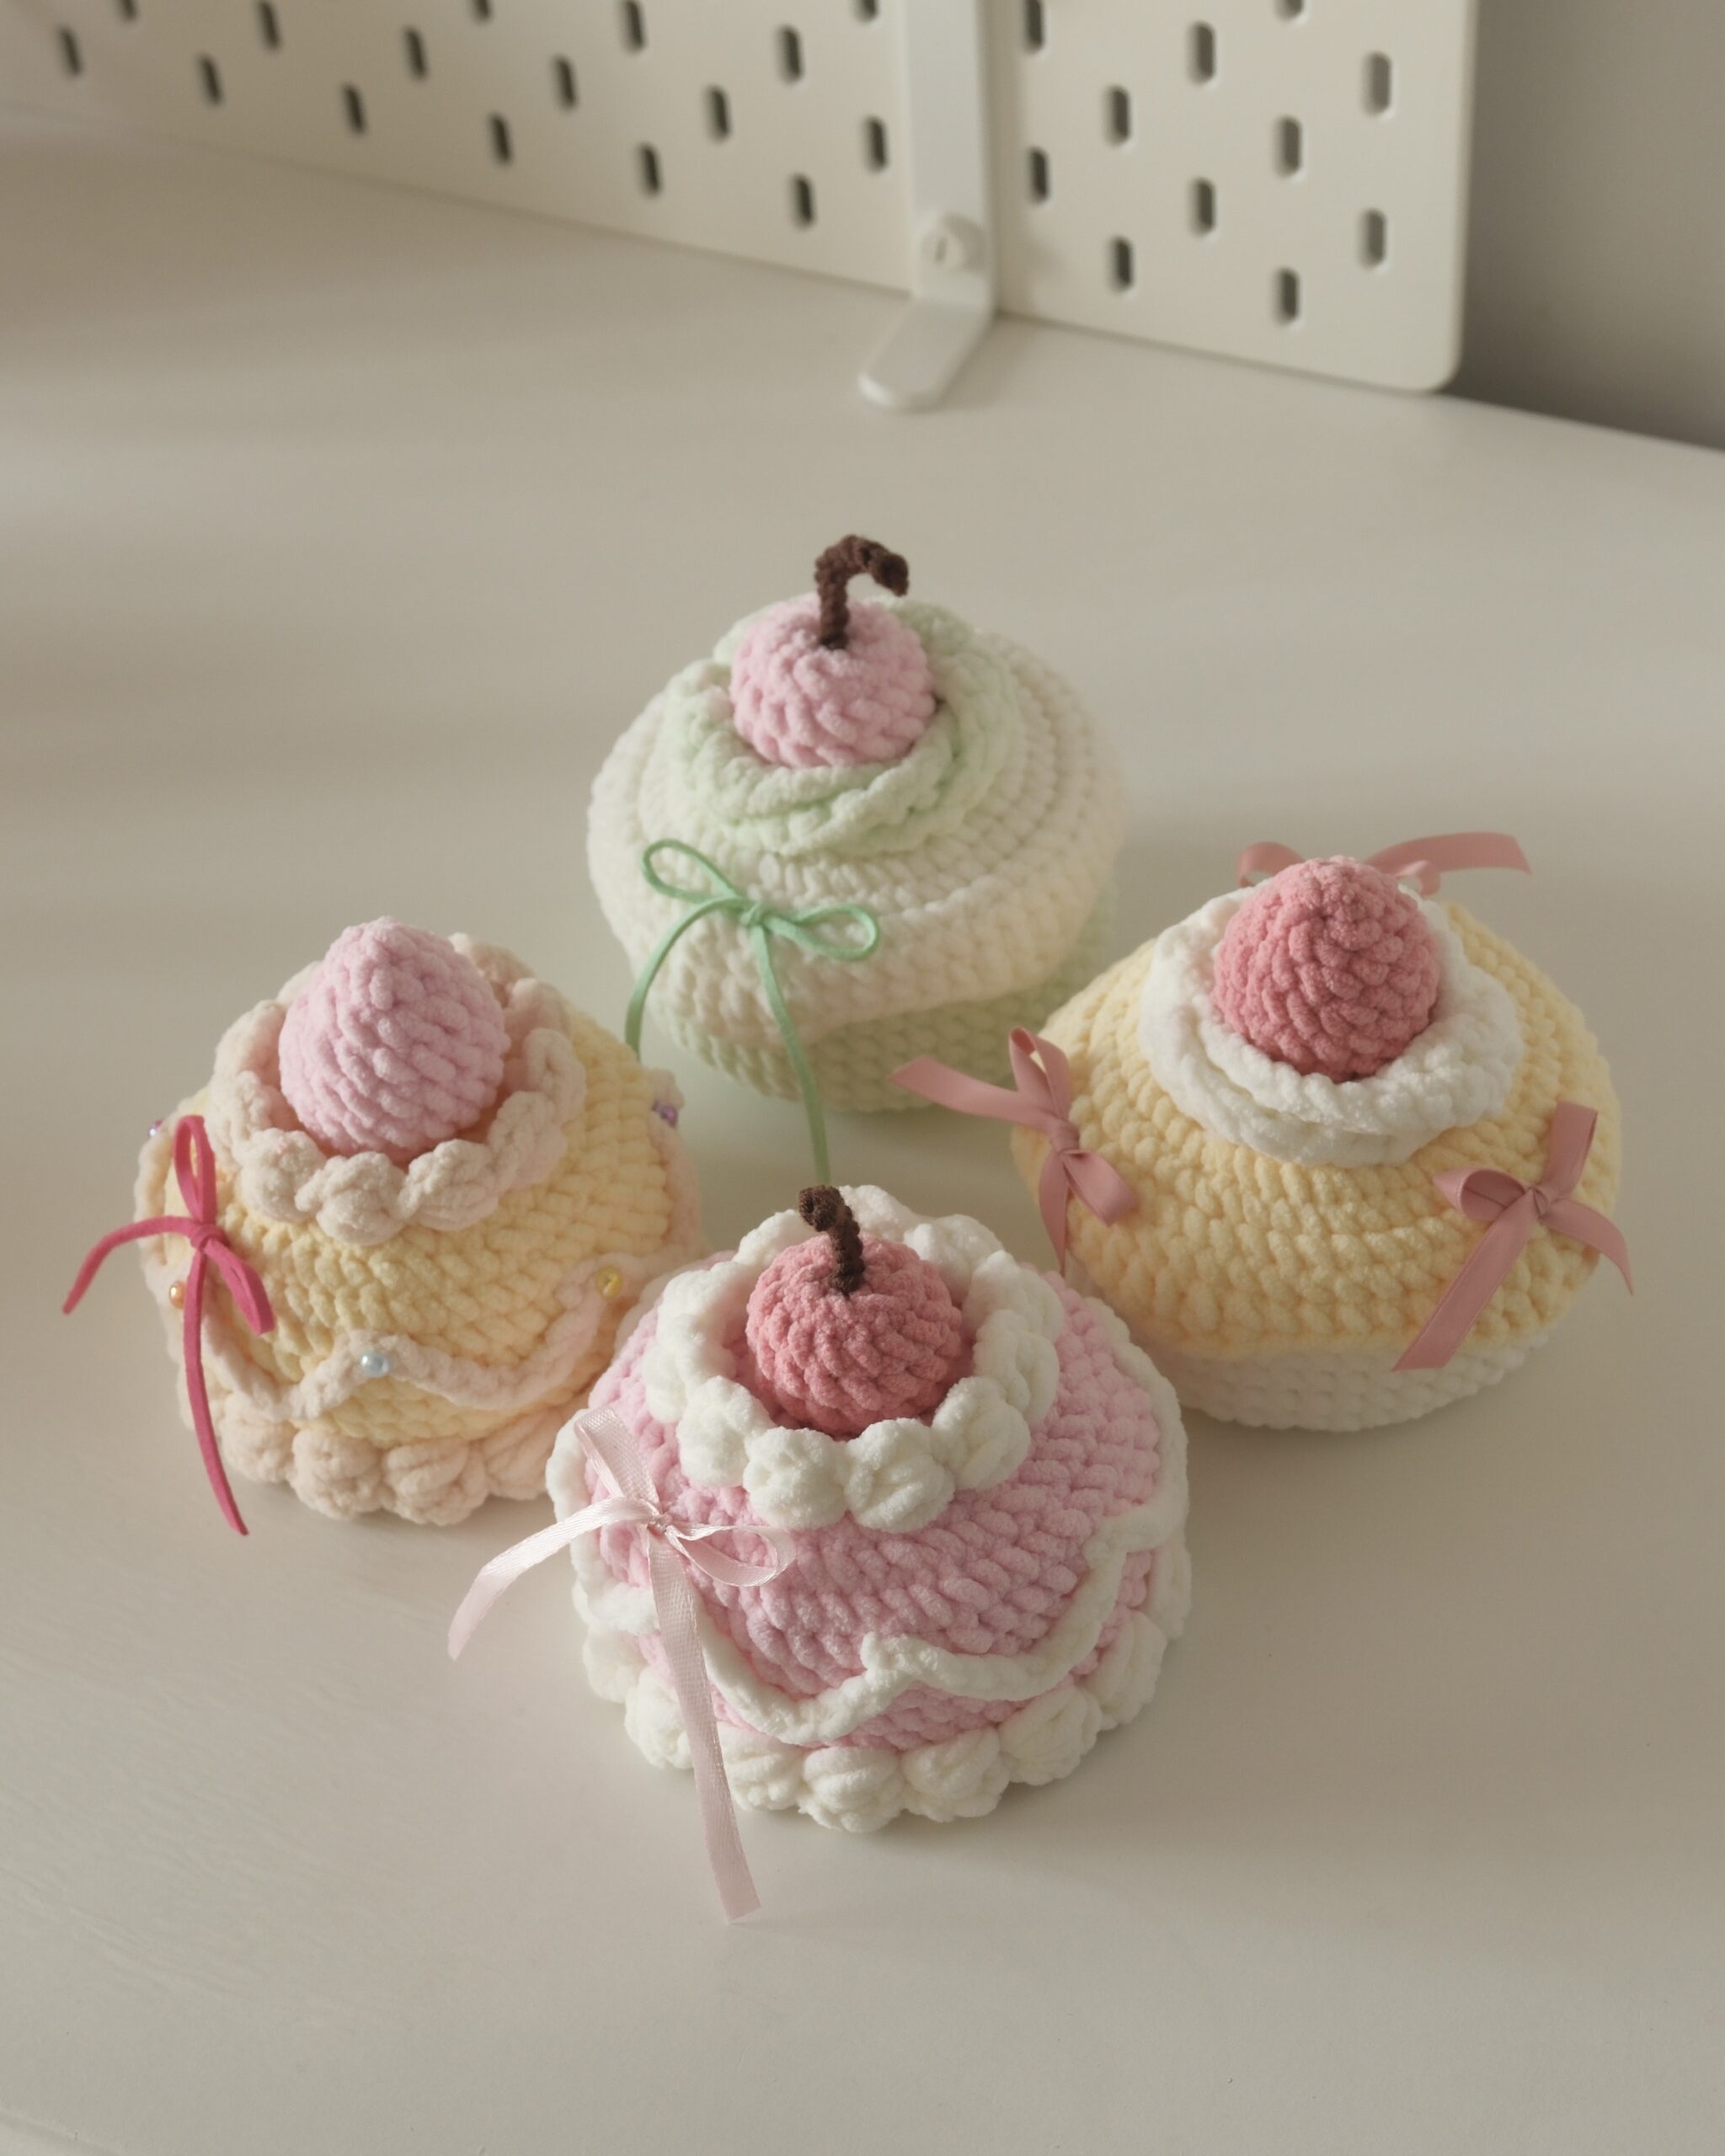
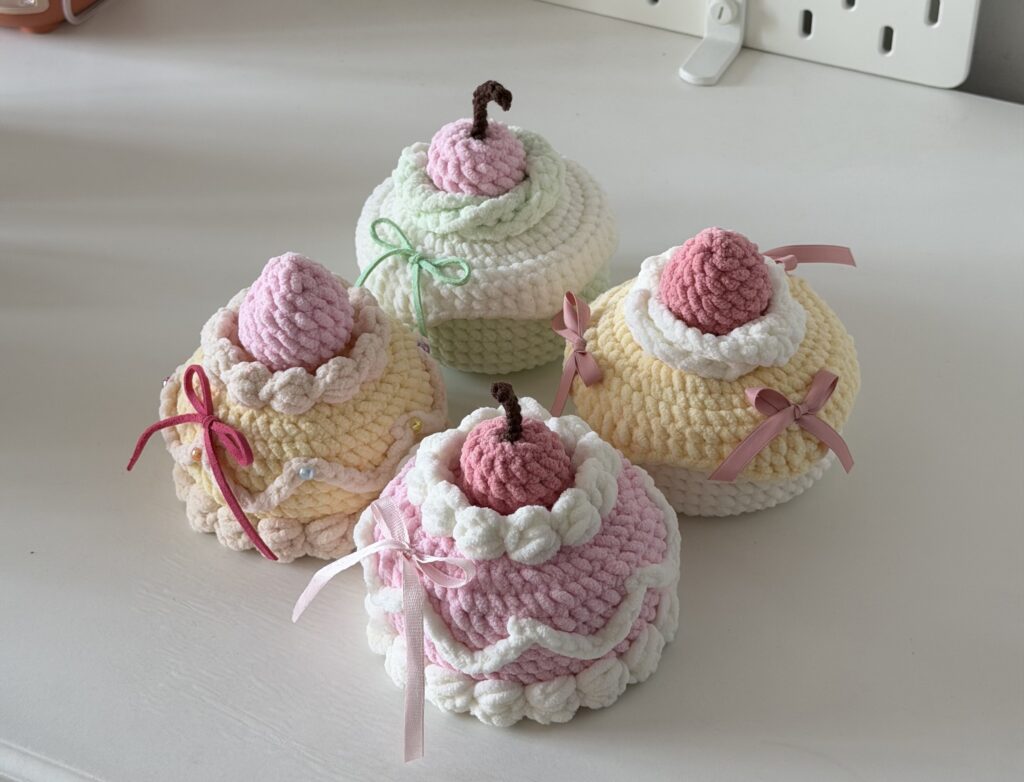
Hello everyone! If you are someone looking for gift idea for someone’s upcoming birthday, this post is just right for you. I will show you how to make the most adorable birthday cake plushies in a simple way. After making one, you will end up wanting to make one for yourself as well ^^ If this post just came right up before your birthday, I wish you the sweetest and happiest birthday!
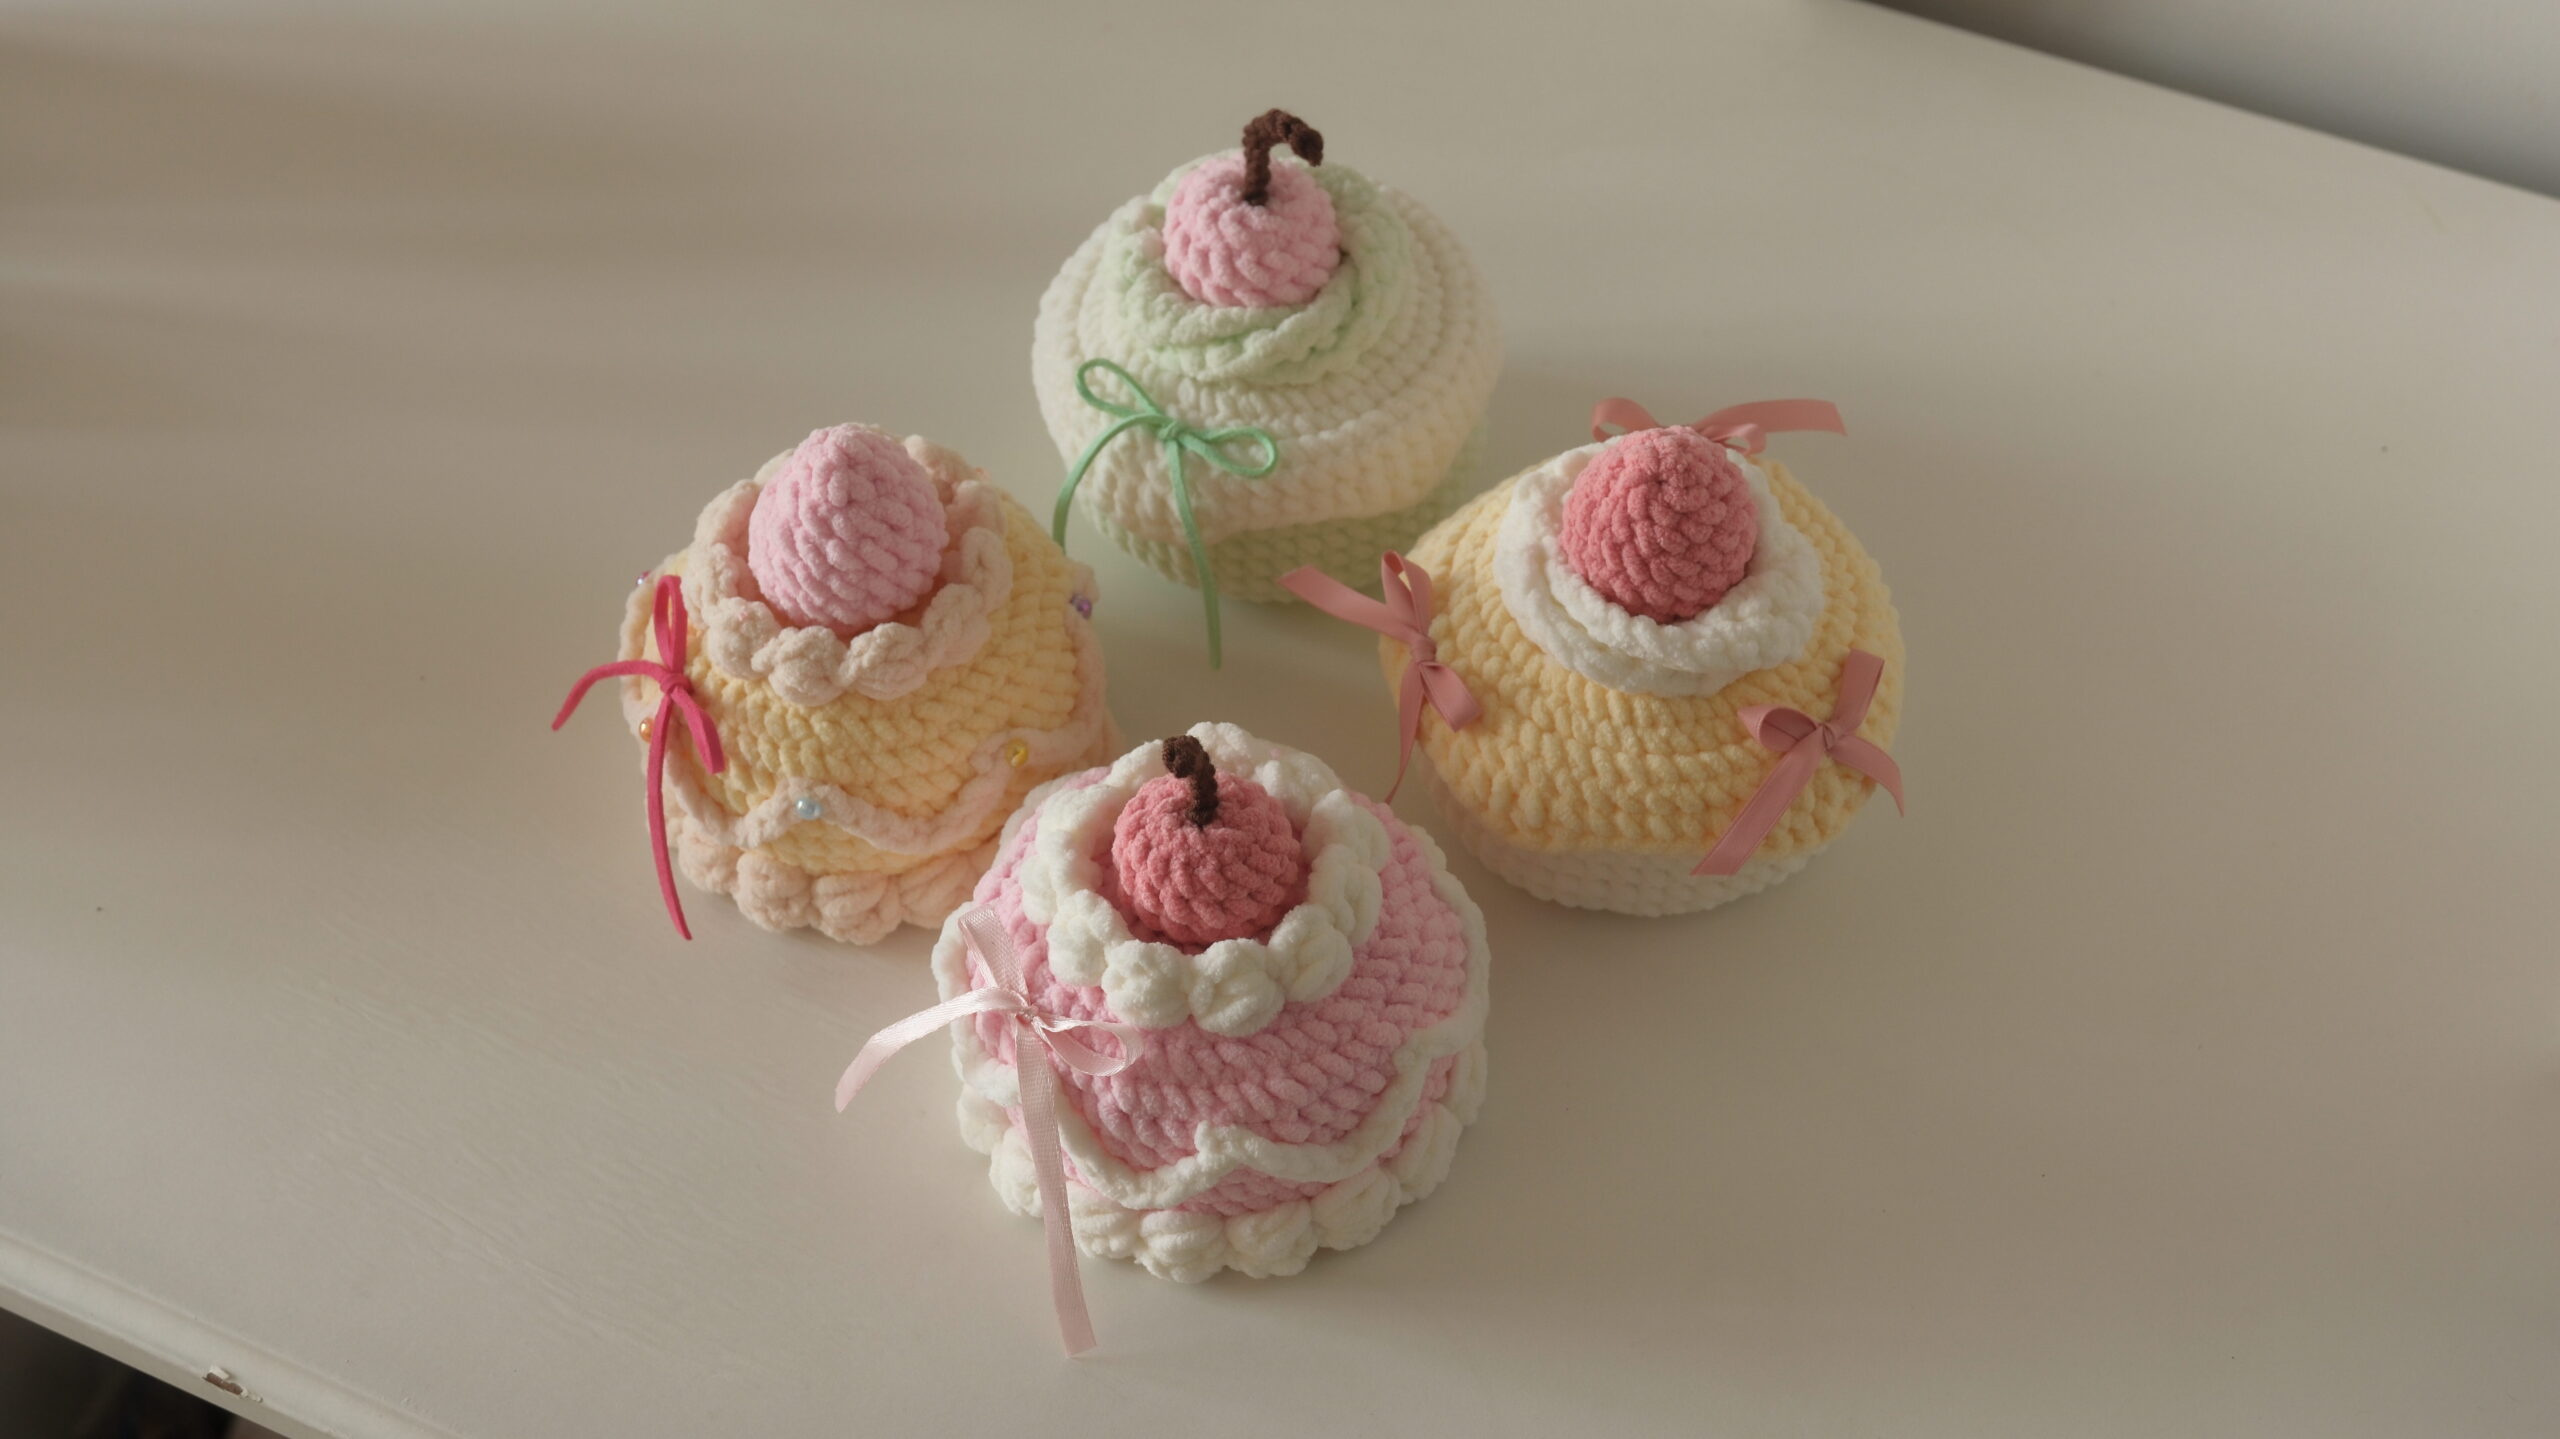
Copyright Notice @chubbiesbyash__ The crochet patterns shared on this blog are designed by me and are for personal use only. You are welcome to sell any finished items made from these patterns, but mass production and selling the patterns themselves are not allowed. Please don’t use the photos from this blog without permission. If you share your creations, I’d appreciate it if you credit me with a link to my blog, Instagram or YouTube channel as this helps me grow as a creator. Thanks for your support!
Do not miss out any details! Open this video as you crochet along to make the process more effective and time-saving!
Materials Needed
- Medium-sized chenille yarn in any color you prefer.
- 4mm crochet hook
- Fiber filling
- Stitch markers, darning needle and scissors
- Satin or faux suede cord/ half pearls (optional)
Crochet Abbreviations
The abbreviations are in US terminology!
- R – round/row
- Ch – chain
- mr – magic ring
- st – stitch
- sc – single crochet
- inc – increase
- dec – decrease
- dc – double crochet
- hdc – half double crochet
- slst – slip stitch
- *- repeat
- [] – total stitch count in each round/row
- sk – skip
Design 1
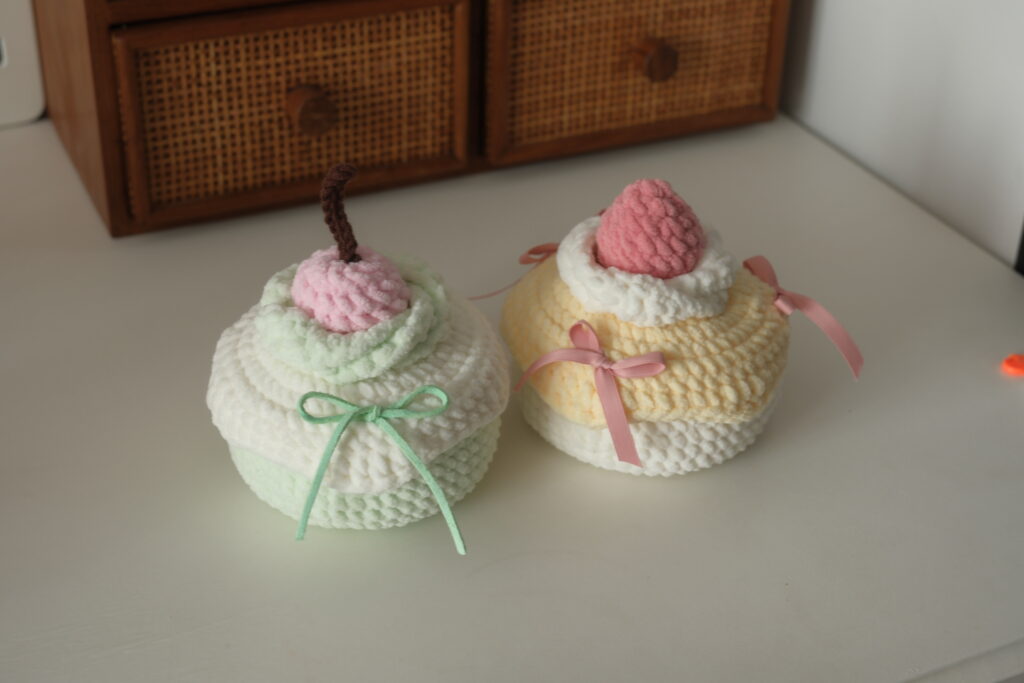
Base
Start with a magic ring. Work in joined rounds.
R1 10sc in mr, 1slst [10]
R2 Ch1, 10inc, 1slst [20]
R3 Ch1, (1sc, 1inc)*10, 1slst [30]
R4 Ch1, (1sc, 1inc, 1sc)*10, 1slst [40]
R5 Ch1, (3sc, 1inc)*10, 1slst [50]
R6 BLO, Ch1, 50sc, 1slst [50]
R7-R13 Ch1, 50sc, 1slst (7 rounds) [50]
- Cut yarn leaving a 12-inch tail.
Lid (Cream on top)
Start with a magic ring. Work in joined rounds.
R1 10sc in mr, 1slst [10]
R2 Ch1, 10inc, 1slst [20]
R3 Ch1, (1sc, 1inc)*10, 1slst [30]
R4 Ch1, (1sc, 1inc, 1sc)*10, 1slst [40]
R5 Ch1, (3sc, 1inc)*10, 1slst [50]
R6 Ch1, 50sc, 1slst [50]
R7 FLO, Ch1, 50sc, 1slst [50]
R8 Ch1, 50sc, 1slst [50]
R9 Ch1, [(3sc, 1hdc, 2dc, 1hdc, 3sc), (2sc, 1hdc, 4dc, 1hdc, 2sc),]*2, (3sc, 1hdc, 2dc, 1hdc, 3sc)
- Cut yarn and weave in the end.
- Sew the BLO of R7 of the lid and the last round of the base together, using the long yarn tail left on the Base.
- Stuff enough to keep the shape of the cake(but not too tightly) before completely sewing them up.
Whipped cream (surrounding fruit)
Start with a slip knot and make 25ch.
R1 24sc [24]
R2 Ch1 & turn, BLO 24sc [24]
R3 Ch1, 1sc into each FLO left in R2 [24]
- Cut yarn, twist 3 times from the right end and sew the ends together.
- Sew the whipped cream on top of the cake, leaving enough space to put either strawberry or cherry inside.
- Watch this par of the tutorial for a detailed explanation.
Design 2
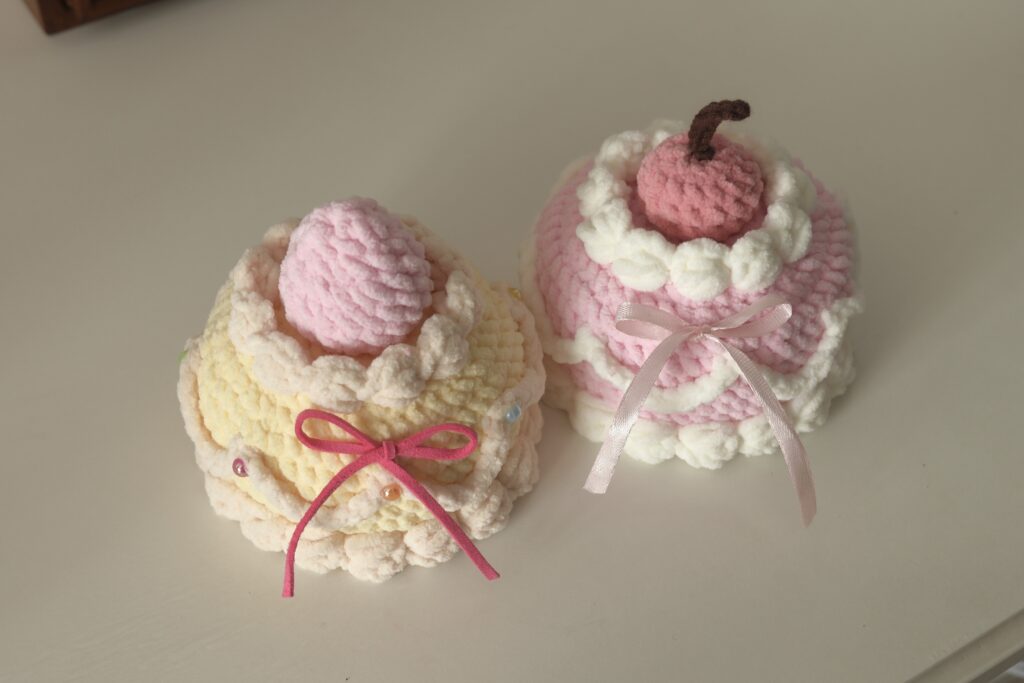
Base
Start with a magic ring. Work in joined rounds.
R1 10sc in mr, 1slst [10]
R2 Ch1, 10inc, 1slst [20]
R3 Ch1, (1sc, 1inc)*10, 1slst [30]
R4 Ch1, (1sc, 1inc, 1sc)*10, 1slst [40]
R5 Ch1, (3sc, 1inc)*10, 1slst [50]
R6 Ch1, 50sc, 1slst [50]
R7 BLO, Ch1, 50sc, 1slst [50]
R8-R12 Ch1, 50sc, 1slst (5 rounds) [50]
R13 Ch1, (3sc, 1dec)*10, 1slst [40]
R14 Ch1, (3sc, 1dec)*8, 1slst [32]
R15 BLO, Ch1, (1sc, 1dec, 1sc)*8, 1slst [24]
- Start stuffing and continue stuffing after each following round.
R16 Ch1, (1sc, 1dec)*8, 1slst [16]
R17 Ch1, 8dec [8]
- Cut yarn, close the leftover hole and weave in the ends.
Frostings (on Design 2)
Into FLOs left in R7 & R15 of the Base;
(2ch, 3hdc puff st, sk2, 1slst into 3rd)* repeat till the end of round.
- Cut yarn and weave in the ends by tying yarn ends together.
- Watch this part of the tutorial for a detailed explanation.
Decoration (on Design 2)
Between R11 & R12 of the Base, starting from the first sc of the round;
(1slst, 8ch, sk6, 1slst)*repeat till the end of round.
- Cut yarn and weave in the ends by tying yarn ends together.
- Pull each string down to R9 and glue them in place. Watch this part of the tutorial for a detailed explanation.
Strawberry
Start with a magic ring. Make continuous rounds.
R1 6sc in mr [6]
R2 6inc [12]
R3 (1sc, 1inc)*6 [18]
R4-R6 18sc (3 rounds) [18]
R7 9dec [9]
- Stuff inside and close the leftover hole.
Cherry
Start with a magic ring. Make continuous rounds.
R1 8sc in mr [8]
R2 8inc [16]
R3-R5 16sc (3 rounds) [16]
R6 8dec [8]
- Stuff inside and close the leftover hole.
Stem
Use a sport weight (5ply) yarn with a 2.5 or 3mm hook, in Brown.
Starting with a slip knot; 10ch, 9slst.
- Cut yarn leaving a 4-inch tail and sew the stem on top of the cherry.
Extra decorations
You can use any material you have to make the cakes cuter and more realistic. I used satin and faux suede cords, and tied them on the cakes to make ribbons. I also used colorful half pearls to decorate Design 2. This is the part where you have fun and get creative with craft materials you have at home. Enjoy!
And there you have it! You’ve done an amazing job getting this far. Take a moment to admire your work—you’ve put in the effort, and it shows. It might not be perfect, but it’s a reflection of your creativity and dedication, and that’s what truly matters. Be proud of what you’ve accomplished!
[ From Ash ] 𐙚
Hi there🌸
Thank you for checking out my crochet pattern! I hope you find joy and inspiration in the patterns I share.
If you create any amigurumi using my patterns, I would be thrilled and honored if you could give me credit in your posts. Sharing your creations and crediting the pattern helps our crochet community grow and allows others to find and enjoy these patterns too. 🧶✨
I’m grateful for your support and can’t wait to see your beautiful work. Feel free to leave a comment if you have any questions or just want to share your project.
Happy crocheting!
Post Comment