Tomato Cat Pouch: NO-SEW Crochet Pattern
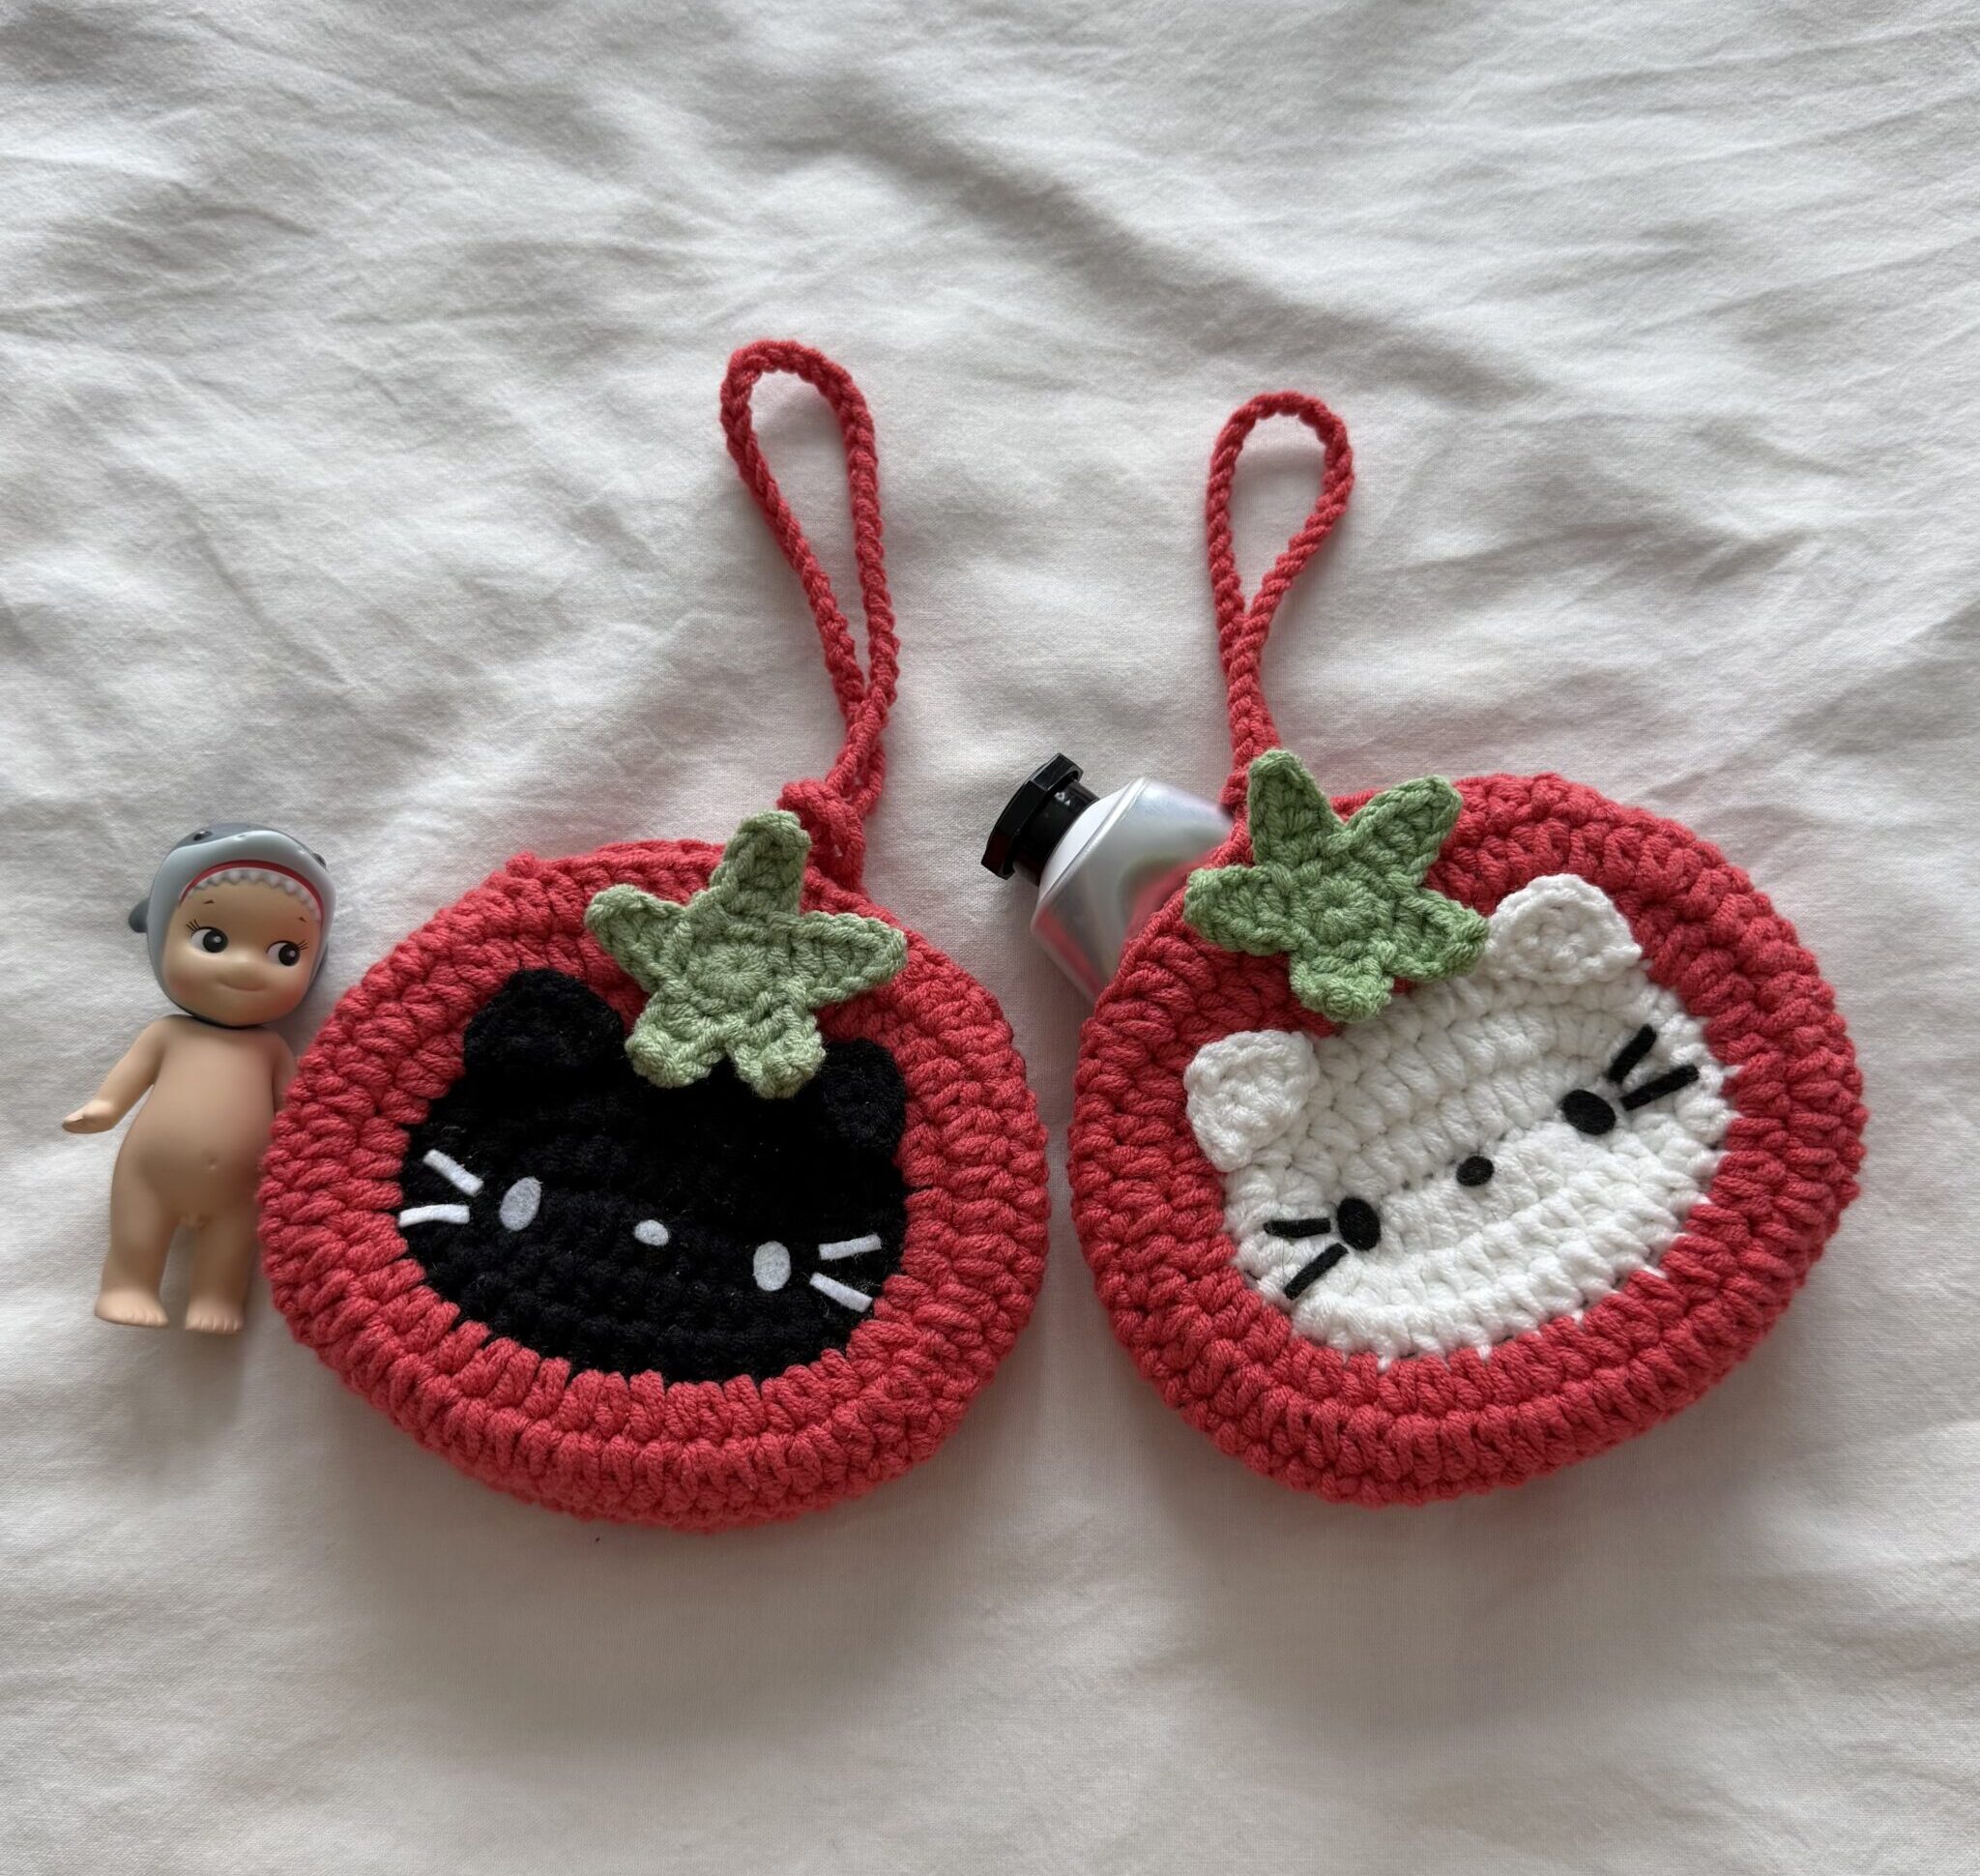
Hi guys! I’m back with yet another pouch pattern. I saw a comment under this video on youtube that she might be obsessed with pouches (lol), I might be. I often get fun ideas on how to make small purses or pouches like these and before I know it, I am testing out my ideas. This one was an imagination successfully turned to life with 2 to 3 rounds of errors and changes. It’s definitely worth trials and errors to get to this cutest and simplest version everyone can easily do. Hope you all would love this pattern! XoXo
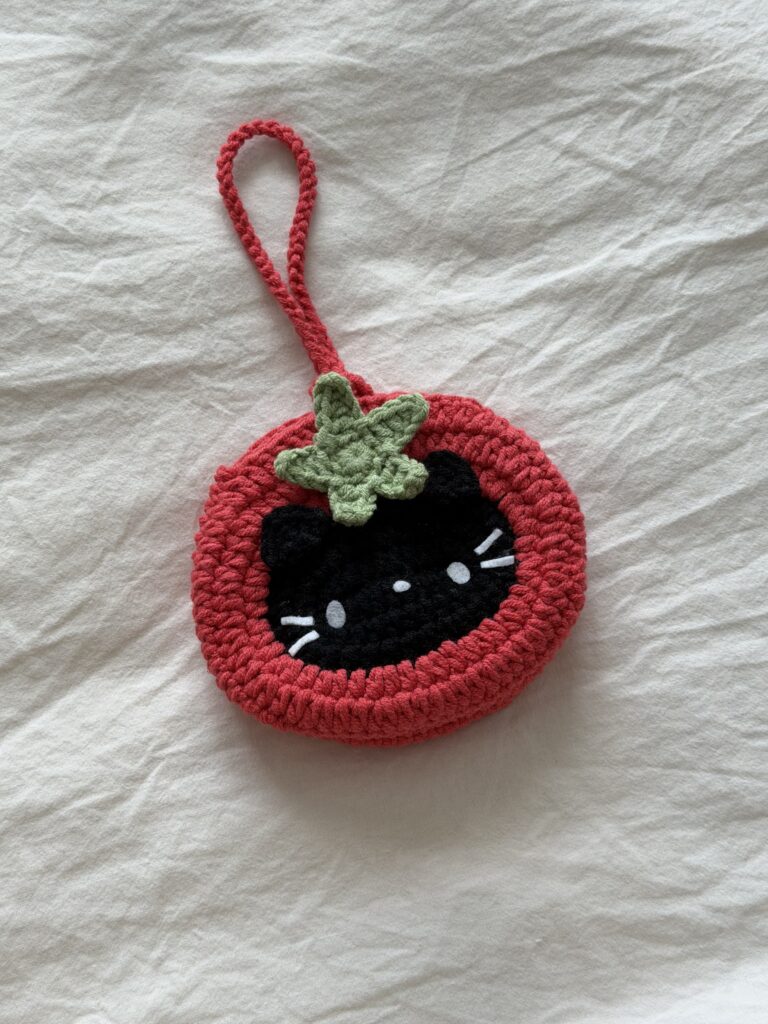
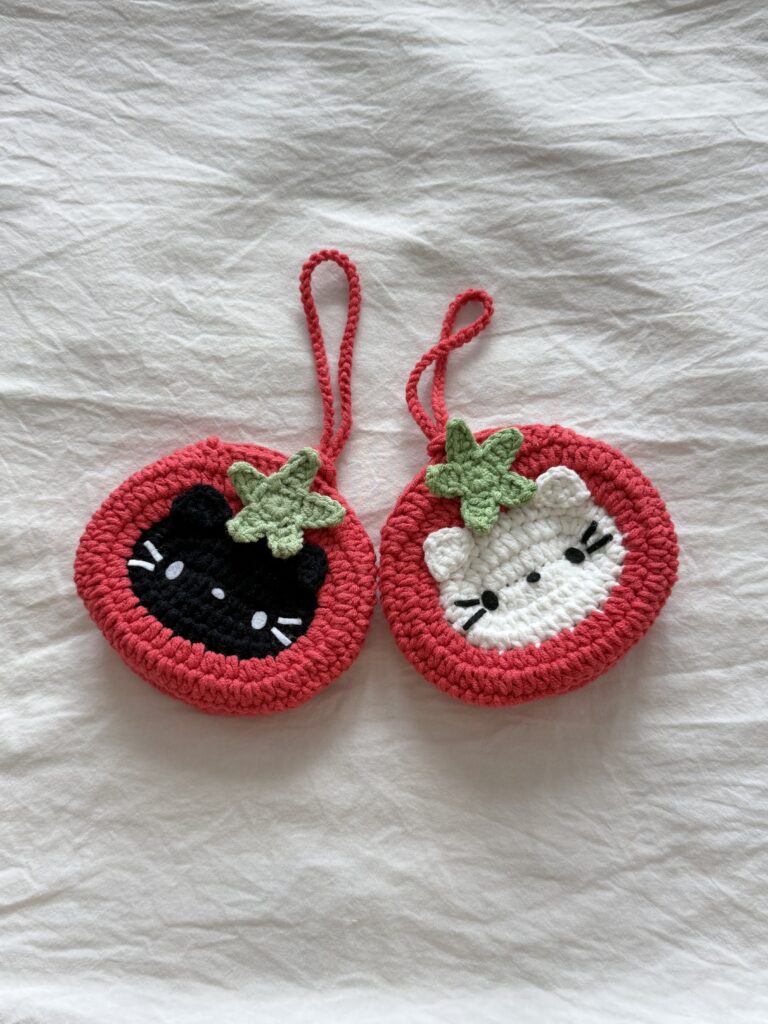
Copyright Notice @chubbiesbyash__ The crochet patterns shared on this blog are designed by me and are for personal use only. You are welcome to sell any finished items made from these patterns, but mass production and selling the patterns themselves are not allowed. Please don’t use the photos from this blog without permission. If you share your creations, I’d appreciate it if you credit me with a link to my blog, Instagram or YouTube channel as this helps me grow as a creator. Thanks for your support!
Do not miss out any details! Open this video as you crochet along to make the process more effective and time-saving!
Materials Needed
- Cotton or Acrylic yarn (sports weight, 5ply) in any color you prefer.
- 3mm crochet hook
- Stitch markers, darning needle and scissors
- Brown felt cloth (optional)
Crochet Abbreviations
The abbreviations are in US terminology!
- R – round/row
- Ch – chain
- st – stitch
- sc – single crochet
- inc – increase
- dec – decrease
- dc – double crochet
- hdc – half double crochet
- slst – slip stitch
- *- repeat
- [] – total stitch count in each round/row
- sk – skip
Front panel
Start with a slip knot and make 12ch.
R1 Starting from 3rd ch from the hook, 1hdc inc, 8hdc, (4hdc) into last ch, Crocheting into lower loops of each ch: 8hdc, 1hdc inc, 1slst (into first st) [24]
R2 Ch1, 1hdc, 1hdc inc, 8hdc, (1hdc, 1hdc inc)*2, 9hdc, 1hdc inc, 1slst [28]
R3 Ch1, 2hdc, 1hdc inc, 8hdc, (2hdc, 1hdc inc)*2, 10hdc, 1hdc inc, 1slst [32]
- Change to Red at the end of R3
R4 In Red, FLO, Ch1, (1hdc, 1hdc inc)*16, 1slst [48]
R5 Ch1, (2hdc, 1hdc inc)*16, 1slst [64]
R6 Ch1, 10hdc, 9dc, For long strap (40ch, 1slst into 1st ch), 9dc, 16hdc, 16sc, 4hdc, 1slst [64]
- Cut yarn leaving a short tail.
Back Panel
Start with a magic ring.
R1 12hdc in mr, 1slst [12]
R2 Ch1, 12hdc inc, 1slst [24]
R3 Ch1, (1hdc, 1hdc inc)*12, 1slst [36]
R4 Ch1, (2hdc, 1hdc inc)*12, 1slst [48]
R5 Ch1, (2hdc, 1hdc inc)*16, 1slst [64]
R6 Ch1, 10hdc, 9dc, For short strap or loop (8ch, 1slst into 1st ch), 9dc, 16hdc, 16sc, 4hdc, 1slst [64]
- Cut yarn leaving a short tail.
Connecting two panels
Watch this part of the tutorial for a more detailed explanation.
Place the right sides of each panel together with the front panel on top and the back panel underneath.
On both panels, mark 8sts to the right and to the left of the gap formed beneath where the straps are added. Place marker into the 8th st of both sides.
Starting from the two markers on the left sides of front and back panels, bring Red yarn and make 1hdc by going through BLO on the front panel and FLO on the back panel. Continue joining two panels this way using hdc till the two markers on the right side. ( The remaining unjoined stitches in the middle at the top will form the opening of the pouch)
When finished, cut yarn and weave in the ends.
Ears
Start with a magic ring.
R1 4sc in mr
R2 Ch1 & turn, 2sc, 2ch, 2sc
- Cut yarn and weave in the ends.
Leaf
Start with a magic ring.
R1 10sc in mr, 1slst
R2 (Ch5, starting form 3rd ch from the hook, 1sc, 1hdc, 1dc, sk one st on R, 1slst)*5, **make the last slst into the slst from R1
- Cut yarn and weave in the ends.
Assembly
Cut black or white felt cloth into small oval shapes to make the eyes and nose. Cut small strips for whiskers and glue them on the face patch of the pouch, on the front panel.
Glue the ears onto the top of the pouch, one on each side, and glue the green leaf in the middle.
And there you have it! You’ve done an amazing job getting this far. Take a moment to admire your work—you’ve put in the effort, and it shows. It might not be perfect, but it’s a reflection of your creativity and dedication, and that’s what truly matters. Be proud of what you’ve accomplished!
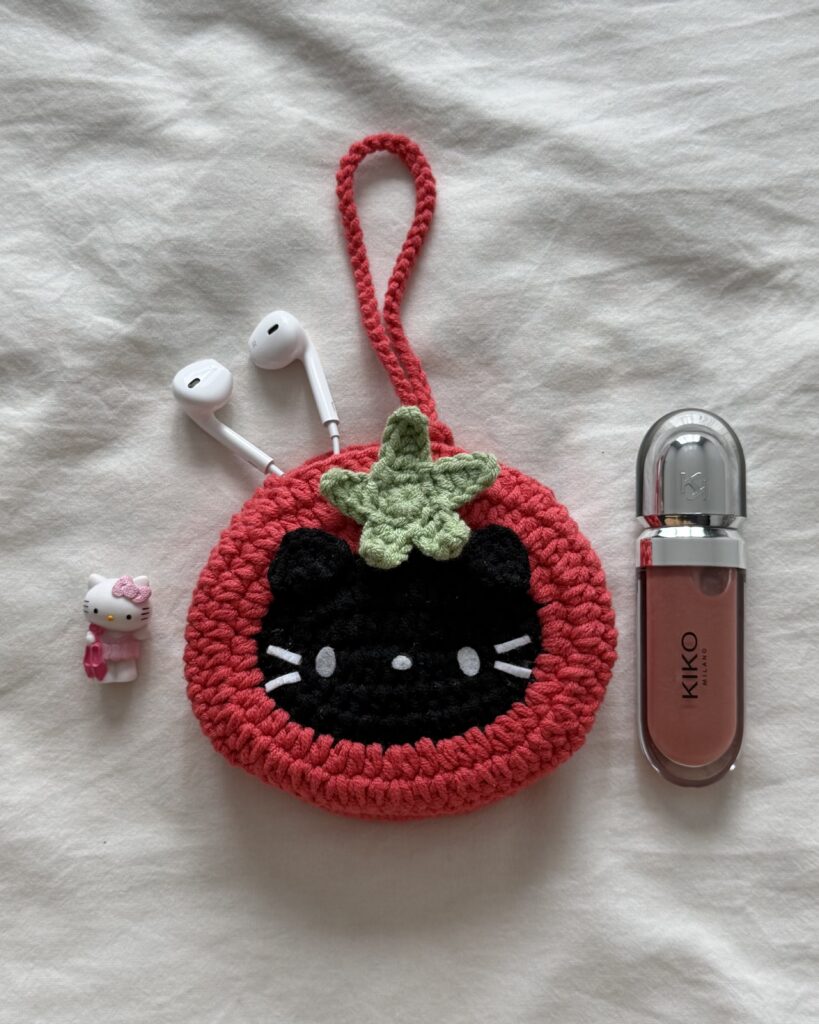
[ From Ash ] 𐙚
Hi there🌸
Thank you for checking out my crochet pattern! I hope you find joy and inspiration in the patterns I share.
If you create any amigurumi using my patterns, I would be thrilled and honored if you could give me credit in your posts. Sharing your creations and crediting the pattern helps our crochet community grow and allows others to find and enjoy these patterns too. 🧶✨
I’m grateful for your support and can’t wait to see your beautiful work. Feel free to leave a comment if you have any questions or just want to share your project.
Happy crocheting!
Post Comment