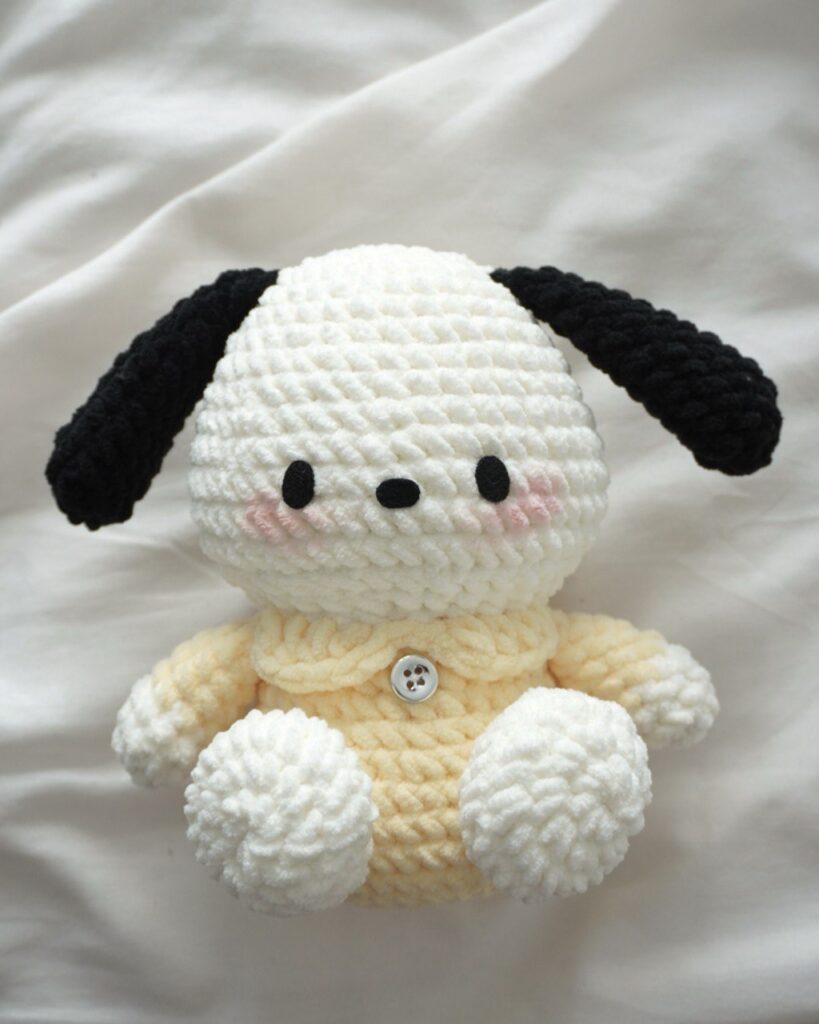
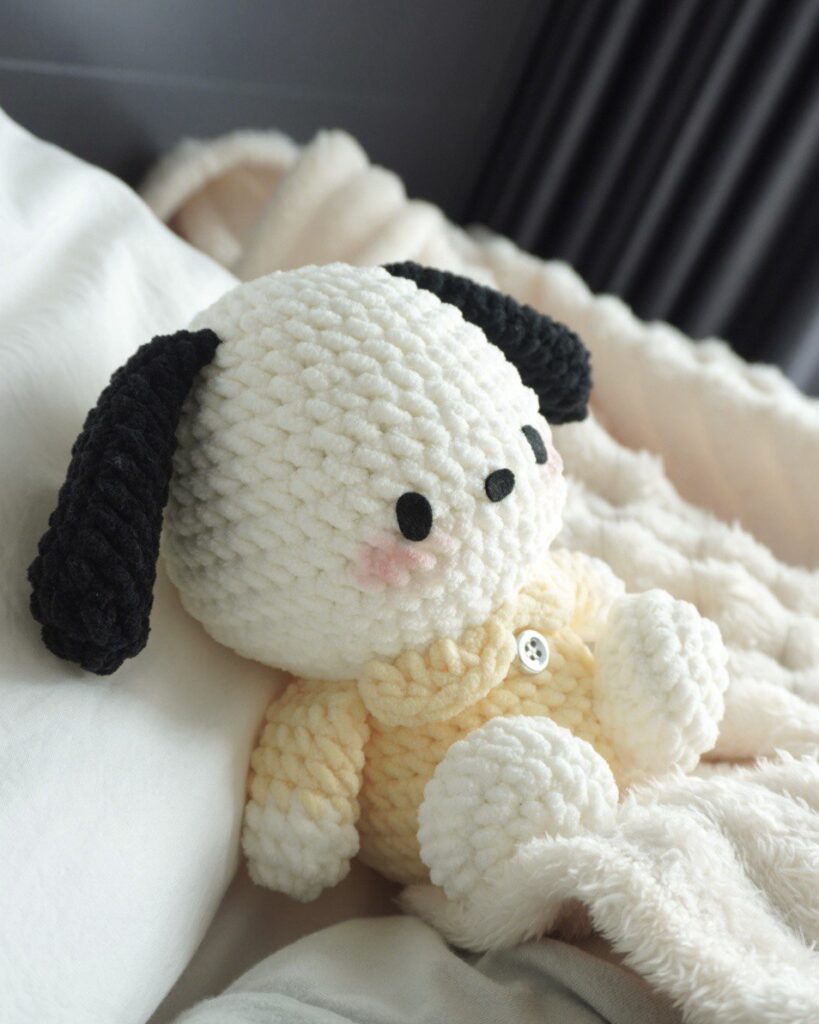
How to Crochet your Cutest Comfort Plushie, Pochacco Free Amigurumi Pattern
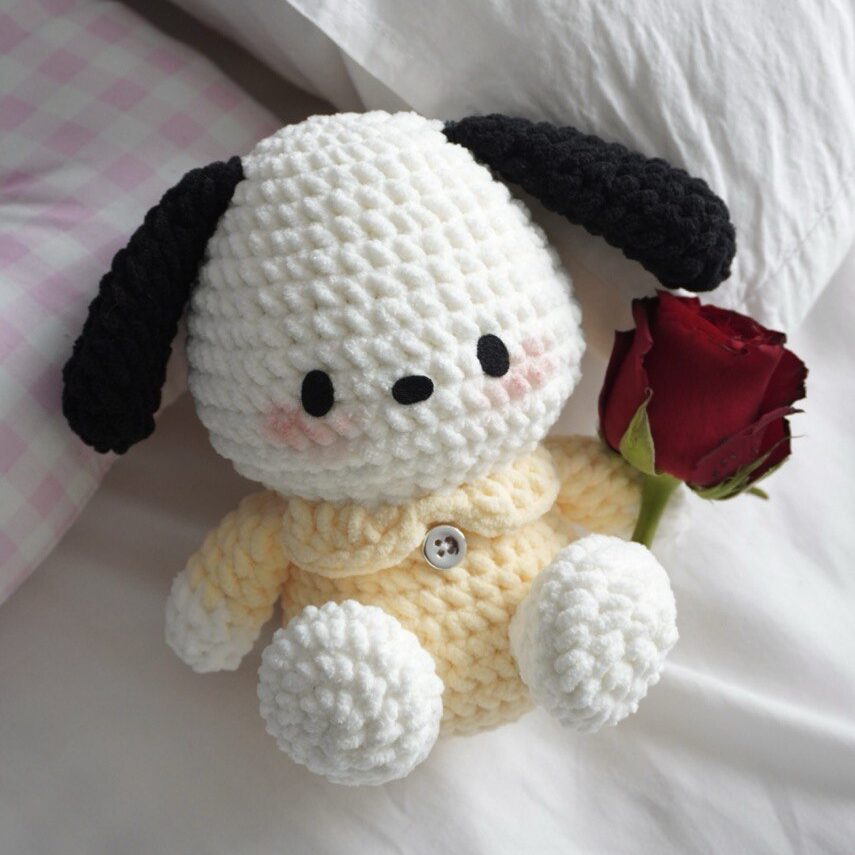
If you love sweet, cozy vibes, this free Pochacco crochet pattern might just become your new favorite comfort plushie! 🐶💛 He’s soft, squishy and thus perfect for hugging, gifting, or just sitting cutely by your desk. I had so much fun bringing him to life in yarn, and now you can too!
This pattern is beginner-friendly and super relaxing to make. I kept the shapes simple and the sewing minimal, so you can focus on the fun part; watching your little buddy come together stitch by stitch. I hope he brings you just as much joy as he did for me!
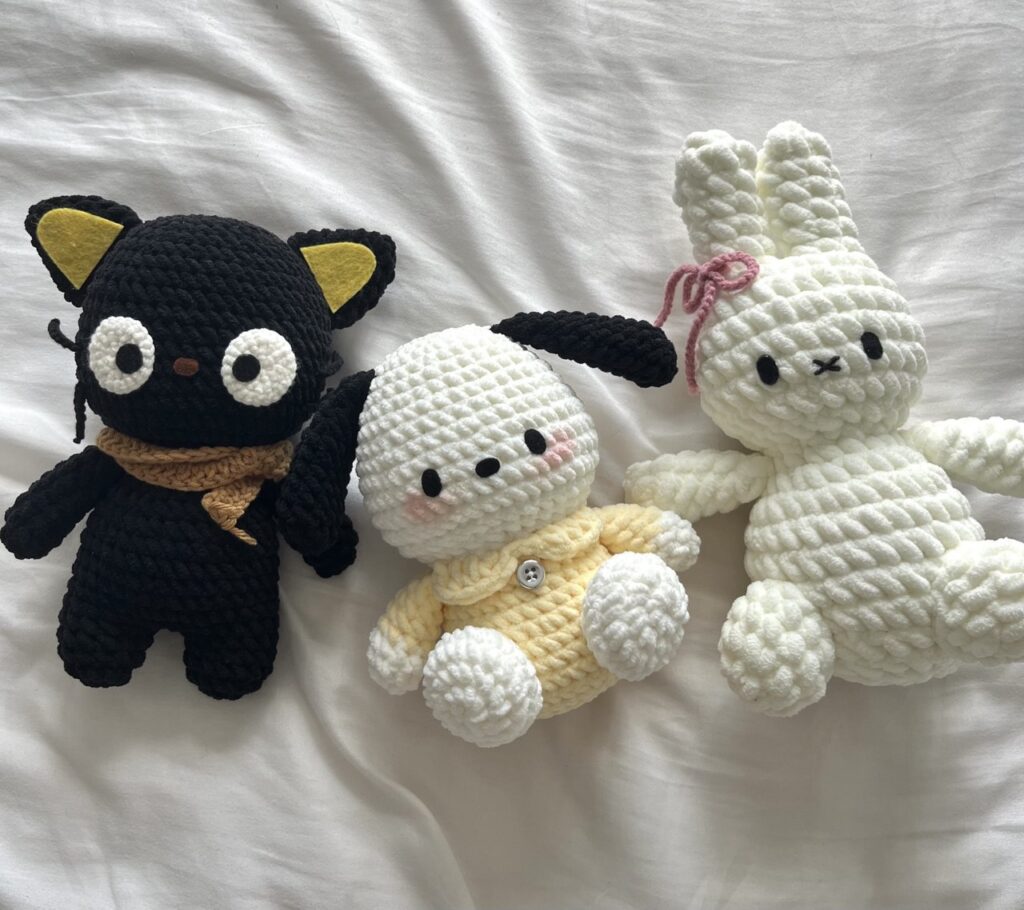
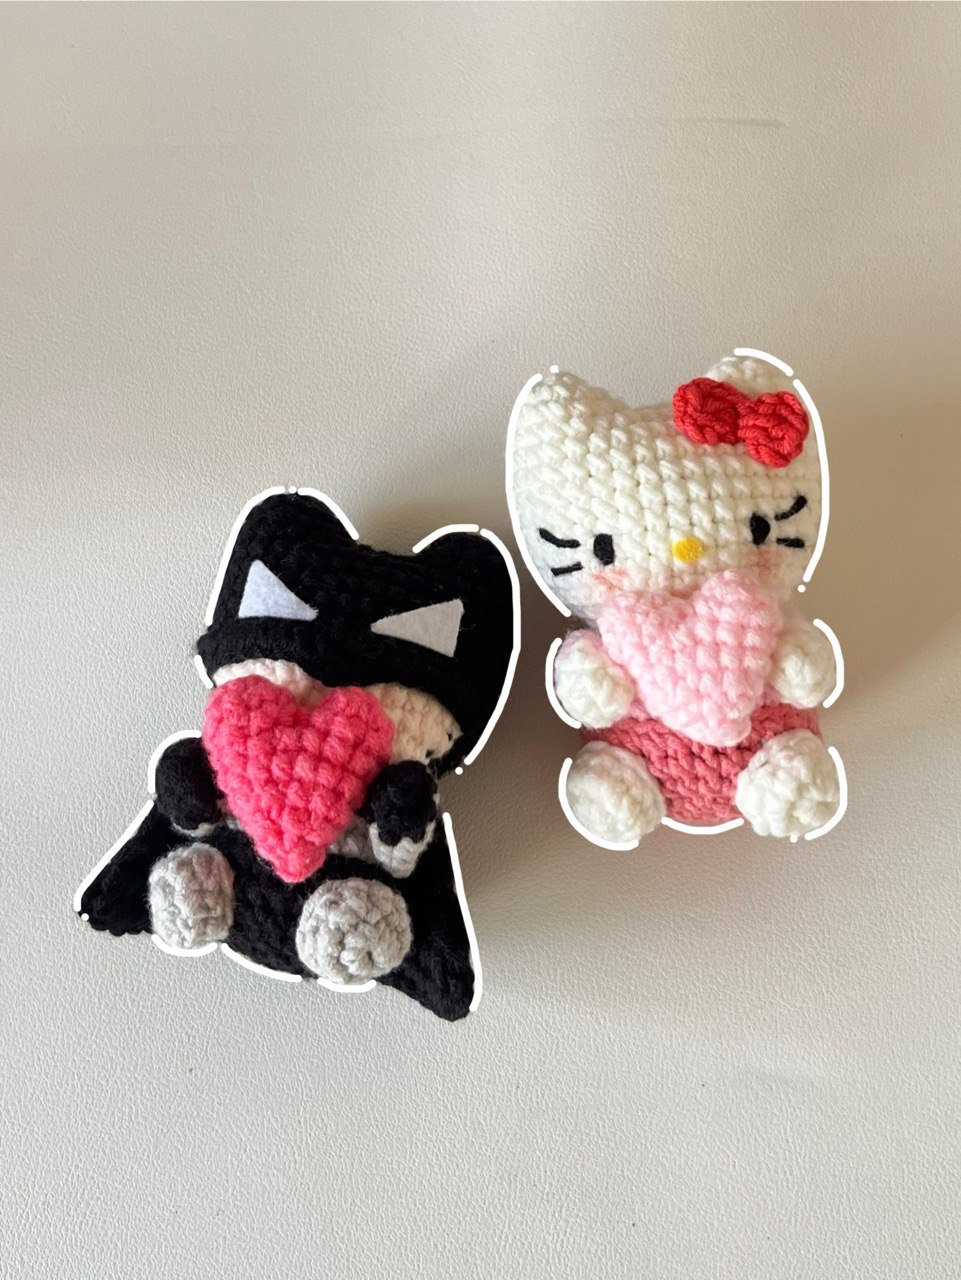
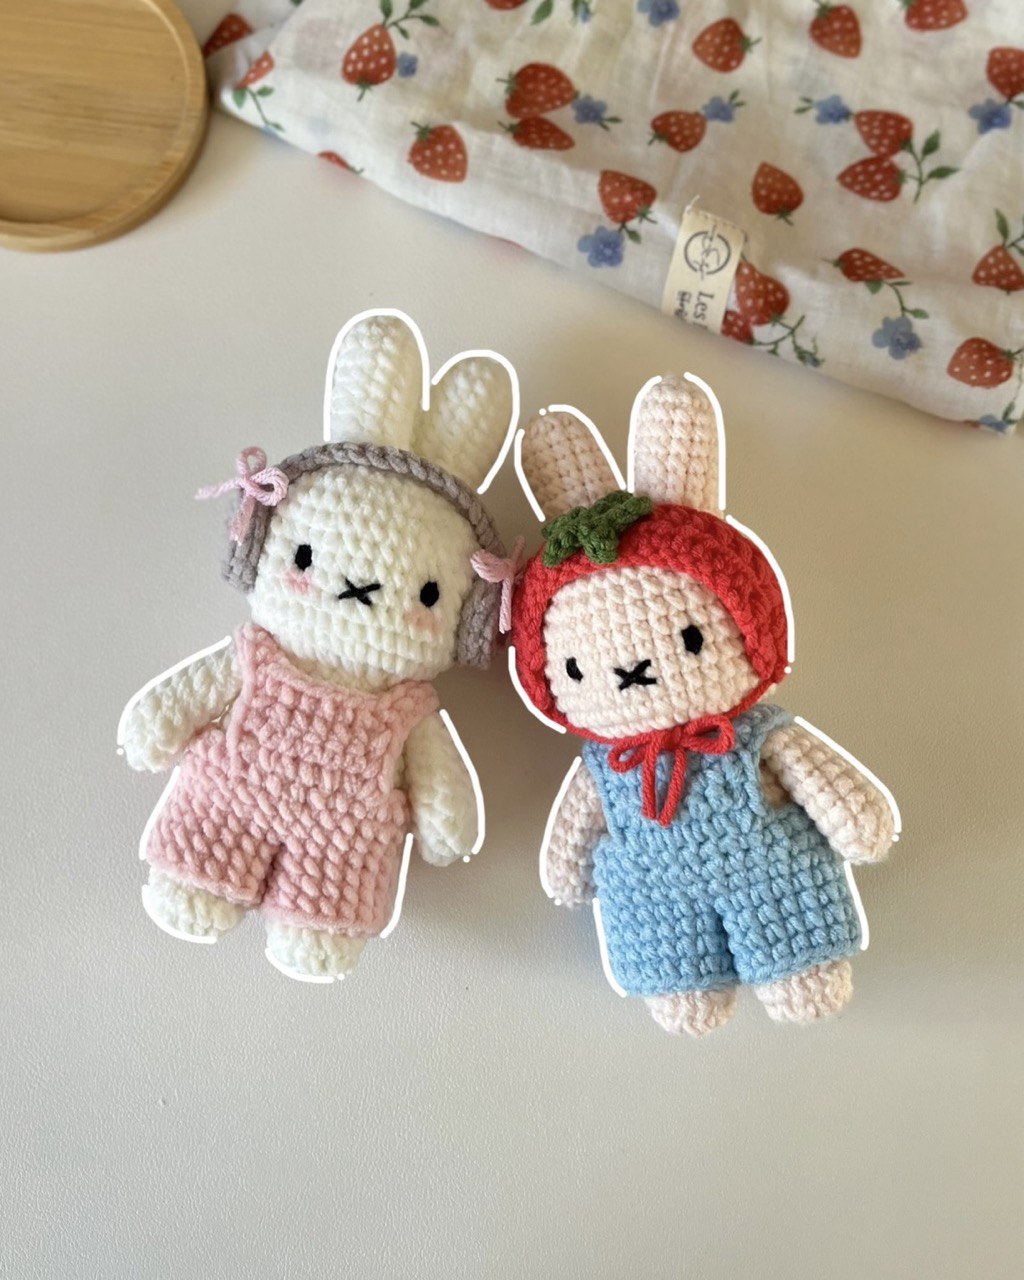
Wanna make his friends too? I have already shared these adorable Chococat Pattern and Miffy Plushie Pattern long ago.
Copyright Notice @chubbiesbyash__ The crochet patterns shared on this blog are designed by me and are for personal use only. You are welcome to sell any finished items made from these patterns, but mass production and selling the patterns themselves are not allowed. Please don’t use the photos from this blog without permission. If you share your creations, I’d appreciate it if you credit me with a link to my blog, Instagram or YouTube channel as this helps me grow as a creator. Thanks for your support!
Do not miss out any details! Open this video as you crochet along to make the process more effective and time-saving.
Materials Needed
- Chenille yarn of around 5mm thick in White, Black and any color you prefer (for the shirt)
- 4mm or 4.5mm crochet hook
- Black Felt cloth & glue
- Stuffing Materials
- Stitch markers, darning needle and scissors
Crochet Abbreviations
The abbreviations are in US terminology!
- R – round/row
- Ch – chain
- mr – magic ring
- st – stitch
- sc – single crochet
- inc – increase
- dec – decrease
- hdc – half double crochet
- slst – slip stitch
- FLO – front loop only
- BLO – back loop only
- *- repeat
- [] – total stitch count in each round/row
- sk – skip
Arms
Start with a magic ring in White yarn.
R1 8sc in mr [8]
R2 (3sc, 1inc) *2 [10]
R3 10sc [10]
Change to Yellow yarn at the end of R3!
R4 In Yellow, 10sc [10]
R5-R7 10sc (3 rounds) [10]
- Stuff the arms lightly and crochet the opposite stitches together to get 4sc.
- Watch this part of the tutorial for a more detailed explanation!
- Cut the yarn leaving a long tail for sewing.
Head
Start with a magic ring in White yarn.
R1 8sc in mr [8]
R2 8inc [16]
R3 (1sc, 1inc) *8 [24]
R4 (1sc, 1inc, 1sc) *8 [32]
R5-R6 32sc (2 rounds) [32]
R7 (3sc, 1inc) *8 [40]
R8-R9 40sc (2 rounds) [40]
R10 (2sc, 1inc, 2sc) *8 [48]
R11-R14 48sc (4 rounds) [48]
R15 (2sc, 1dec) *12 [36]
R16 (2sc, 1dec, 2sc) *6 [30]
R17 (3sc, 1dec) *6 [24]
- Stuff the head nice and tight!
- Change to Yellow yarn at the end of R17!
R18 In Yellow, BLO 24sc [24]
R19 (3sc, 1inc) *6 [30]
R20 30sc [30]
R21 (2sc, 1inc, 2sc) *6 [36]
R22 36sc [36]
R23 (5sc, 1inc) *6 [42]
R24-R26 42sc (3 rounds) [42]
R27 (4sc, 1dec) *7 [35]
R28 (3sc, 1dec) *7 [28]
R29 (2sc, 1dec) *7 [21]
R30 (1sc, 1dec) *7 [14]
- Stuff the body nice and tight!
R31 7dec [7]
- Stuff a bit more and close the body.
- Watch this part of the tutorial to see how to finish off!
Legs
Start with a magic ring in White yarn.
R1 8sc in mr [8]
R2 8inc [16]
R3 (1sc,1inc) *8 [24]
R4 24sc [24]
R5 4sc, 8dec, 4sc [16]
R6 (2sc, 1dec) *4 [12]
- Stuff the legs and cut the yarn leaving a long tail.
Ears
Start with a magic ring in Black yarn.
R1 8sc in mr [8]
R2 (1sc, 1inc) *4 [12]
R3-R8 12sc (6 rounds) [12]
R9 (4sc, 1dec) *2 [10]
R10 10sc [10]
R11 (3sc, 1dec) *2 [8]
R12 8sc [8]
- Do not stuff the ears.
- Crochet the opposite stitches together to get 4sc.
Collar
- Mark a center point of the body and take 4 stitches to the left and 4 stitches to the right of that point. We mark a total of 9 stitches in the center!
- Crochet the collar directly on FLO of R18!
- Watch this part of the tutorial for a more detailed explanation!
(2ch,1hdc), 2hdc, (1hdc, ch1, 1slst), 1slst, (1slst, ch1, 1hdc), 2hdc, (1hdc, 2ch, 1slst)
Assembly
- Sew the arms next to each collar in between R18 and R19
- Sew the legs on R24 to R26 with about 5 stitches apart between two legs.
- Sew the ears in between R4 and R5 with about 5.5cm apart between two ears.
- Attach the eyes and nose on R12, with 6sc apart between two eyes and the nose in the middle.
- (optional) Sew a button in the center of the collars to make it look more charming.
And there you have it! You’ve done an amazing job getting this far. Take a moment to admire your work—you’ve put in the effort, and it shows. It might not be perfect, but it’s a reflection of your creativity and dedication, and that’s what truly matters. Be proud of what you’ve accomplished!
[ From Ash ] 𐙚
Hi there🌸
Thank you for checking out my crochet pattern! I hope you find joy and inspiration in the patterns I share.
If you create any amigurumi using my patterns, I would be thrilled and honored if you could give me credit in your posts. Sharing your creations and crediting the pattern helps our crochet community grow and allows others to find and enjoy these patterns too. 🧶✨
I’m grateful for your support and can’t wait to see your beautiful work. Feel free to leave a comment if you have any questions or just want to share your project.
Happy crocheting! ❤️

Post Comment