Crochet Croissant Pouches : Simple & Beginner-friendly Free Pattern
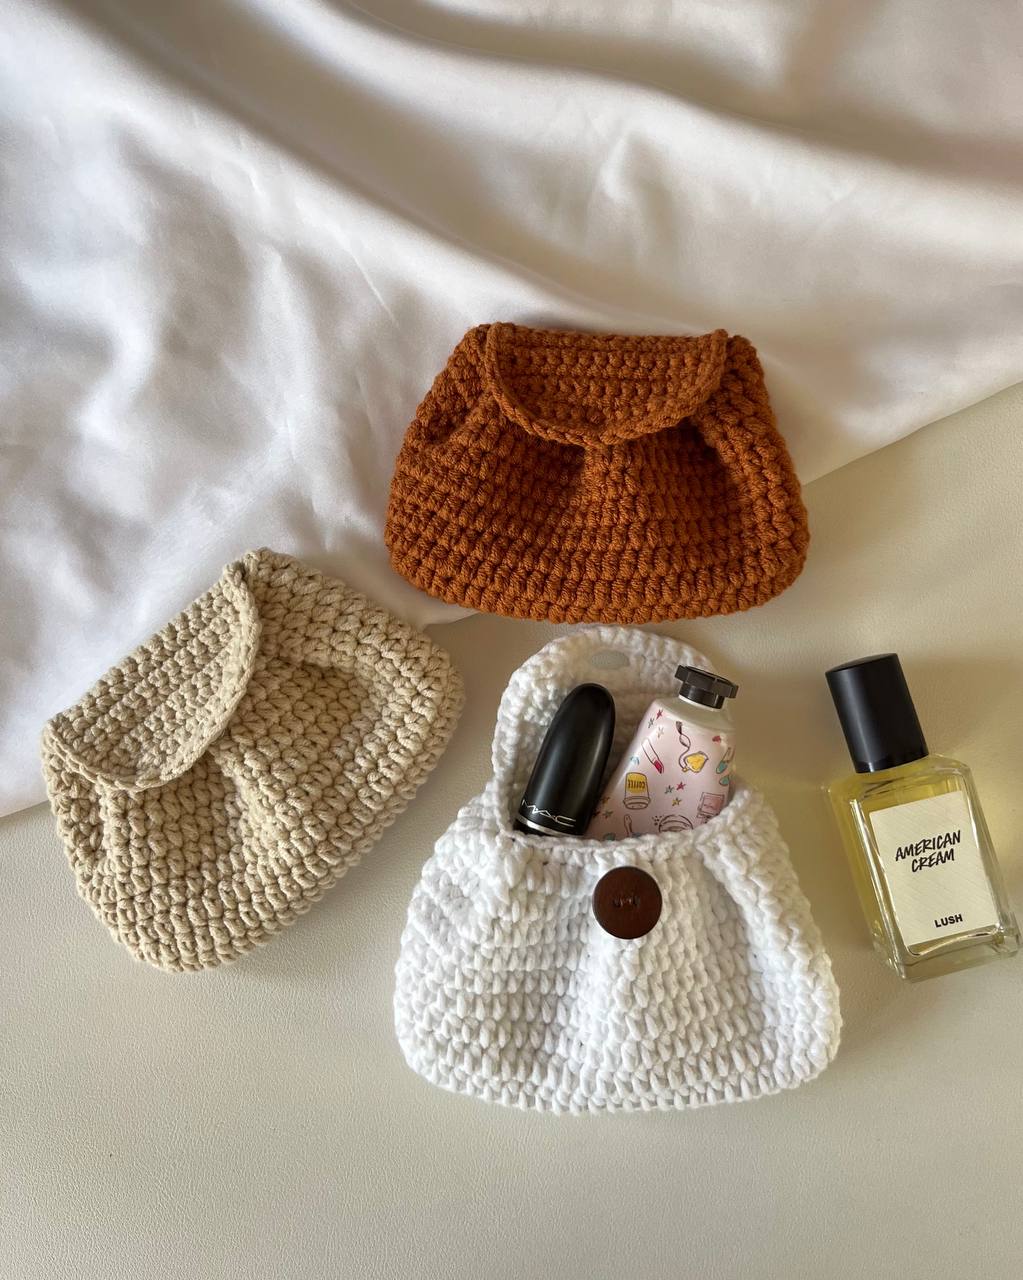
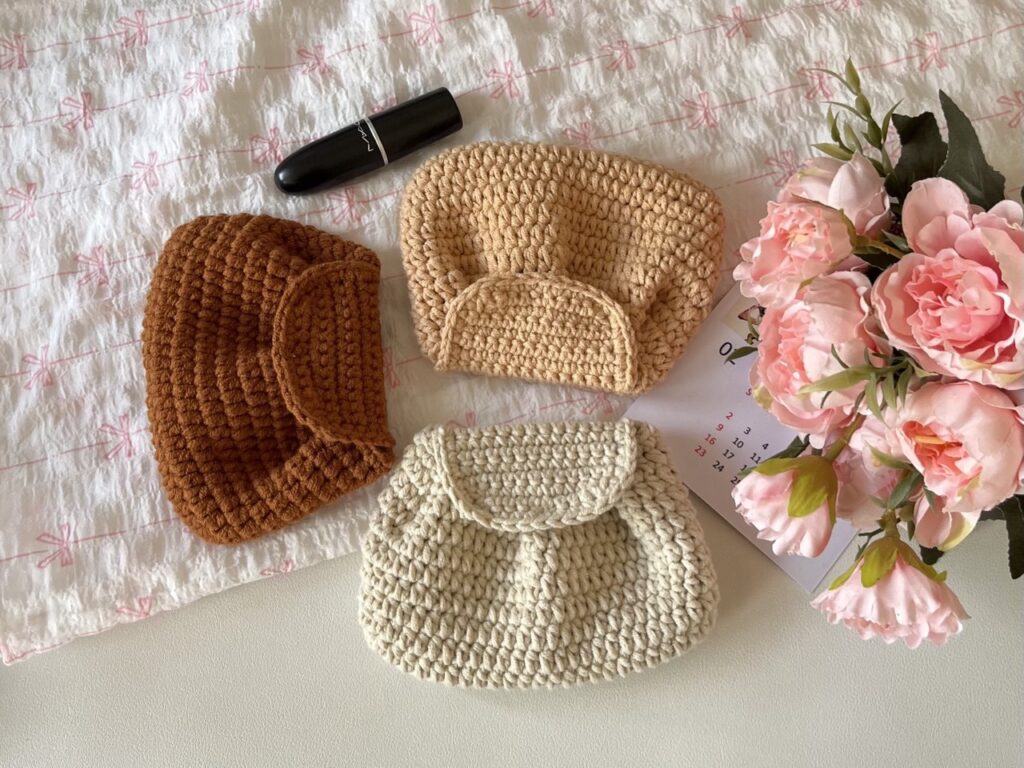
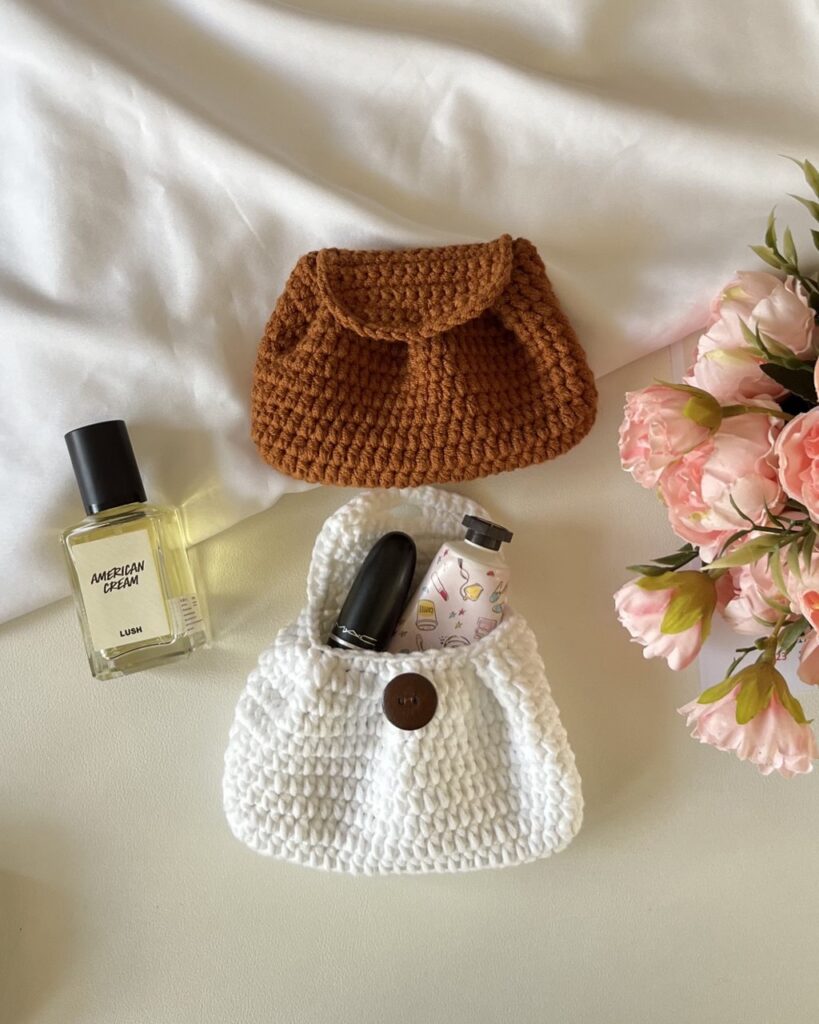
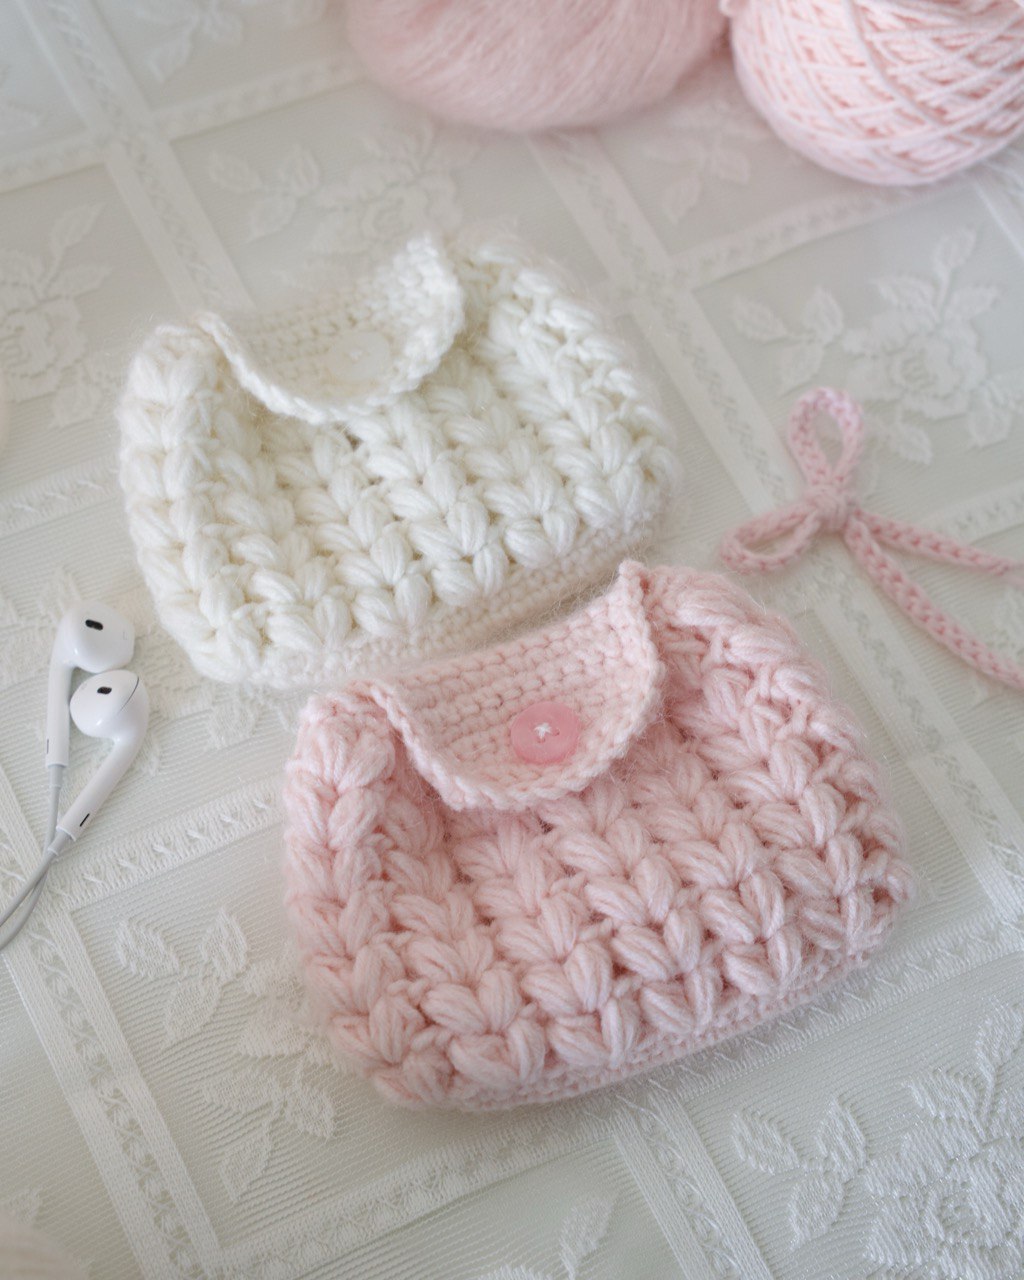
Hi! This one’s beginner-friendly (but my experienced crocheters, please give it a try too! 💖). I designed this pouch to resemble a croissant, not exactly, but close enough! The folded details in the front add to the croissant-y look, while the body is round and slightly wide. I used half double crochet (hdc) stitches, which work up super fast, so you can whip up this pouch in about an hour.
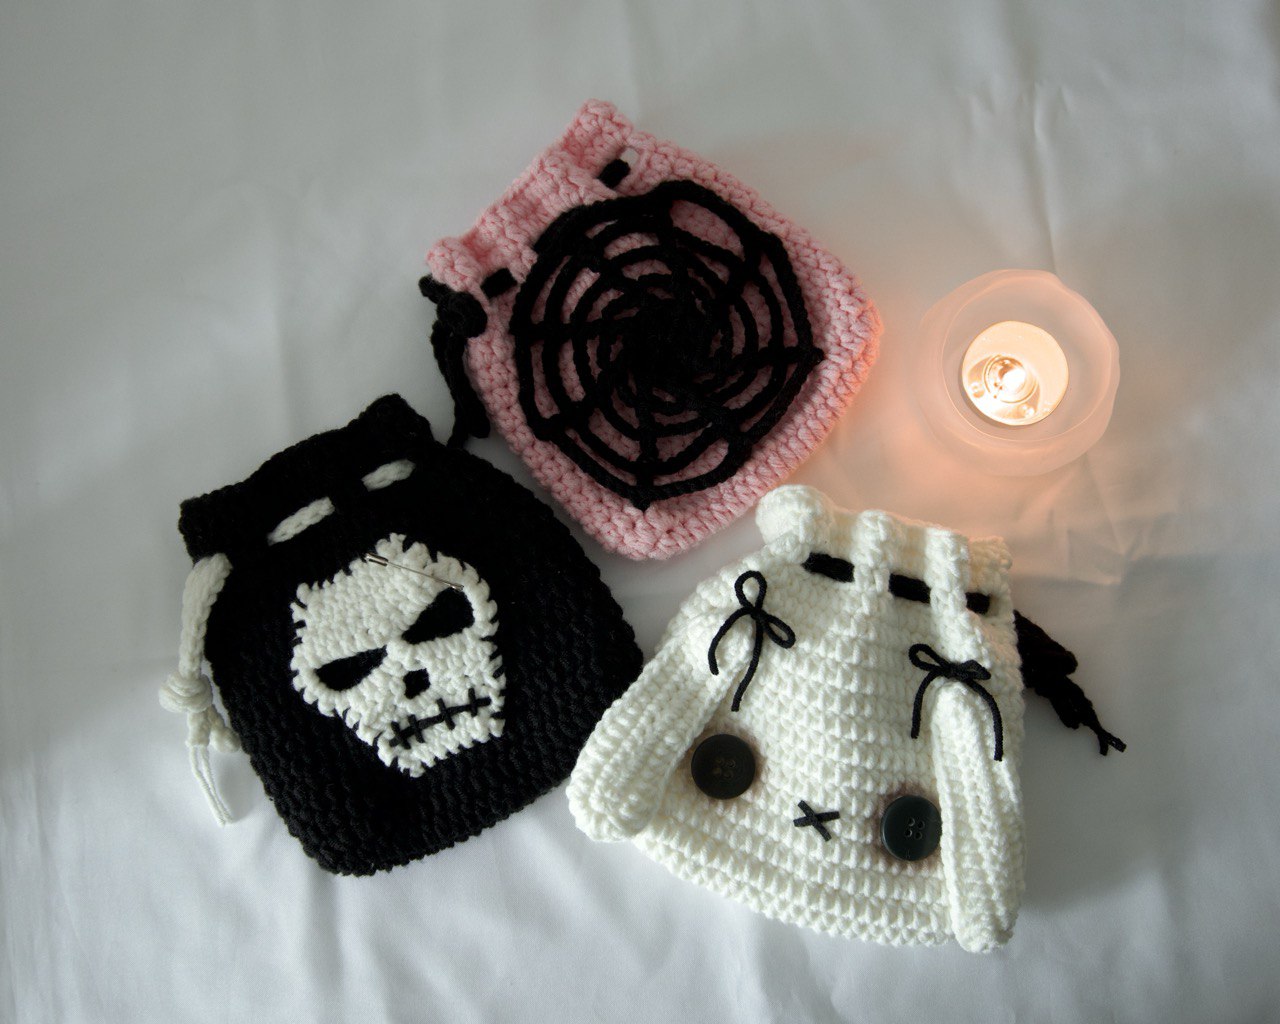
These pouches are perfect for carrying your daily essentials, especially for café trips. You’d totally be vibing! ☕🥐✨
Copyright Notice @chubbiesbyash__ The crochet patterns shared on this blog are designed by me and are for personal use only. You are welcome to sell any finished items made from these patterns, but mass production and selling the patterns themselves are not allowed. Please don’t use the photos from this blog without permission. If you share your creations, I’d appreciate it if you credit me with a link to my blog, Instagram or YouTube channel as this helps me grow as a creator. Thanks for your support!
Materials Needed
- Cotton(5ply) , Acrylic, or Sport in Light Brown (or any color of your preference)
- 3mm crochet hook
- button or snap buttons
- stitch markers, darning needle, pins and scissors
Crochet Abbreviations
- R – round/row
- Ch – chain
- st – stitch
- sc – single crochet
- inc – increase
- dec – decrease
- hdc – half double crochet
- slst – slip stitch
- *- repeat
- [] – total stitch count in each round/row
Do not miss out any details! Open this video as you crochet along to make the process more effective and time-saving.
Body
Start with a slip knot and make 25ch.
R1 Starting from the 3rd ch from the hook, 1hdc inc, 21hdc, 4hdc (in the last ch), 21hdc, 1hdc inc, 1slst (into the 1st hdc) [50]
R1 Ch1, 1hdc, 1hdc inc, 21hdc, (1hdc, 1hdc inc) *2, 22hdc, 1hdc inc, 1slst [54]
R3-R10 Ch1, 54hdc, 1slst (8 rounds) [54]
- Watch how to make the folds in R11 in this part of the tutorial!
R11 Ch1, 5sc, (skip 2sc, 2sc together, skip 4sc, 3sc,) *3, 16sc, 1slst [36]
- Cut the yarn and weave in the ends.
Flap
- Starting from the second last sc of R11 of the body, crochet from right to left!
R1 Ch1, 13sc [13]
R2-R5 Ch1 & Turn, 13sc (4 rows) [13]
R6 Ch1 & Turn, 1dec, 9sc, 1dec [11]
R7 Ch1 & Turn, 1dec, 7sc, 1dec [9]
Edging: 7sc on the 1st side, 9sc on the 2nd side or R7, 7sc on the 3rd side [23]
- Sew the snap buttons on the body and on inner side of the flap.
Alternative way to make R7 to leave buttonhole
R7 Ch1 & Turn, 1dec, 2sc, skip 3 sc, 4ch (here, adjust the buttonhole depending on the size of your button), 2sc, 1dec
Edging: 7sc on the 1st side, (3sc, 1sc on each ch, 3sc) on the 2nd side or R7, 7sc on the 3rd side
- Sew the button on the body of the pouch.
- Watch this part of the tutorial to see how to crochet along the sides of the flap.
- Cut the yarn and weave in the ends.
And there you have it! You’ve done an amazing job getting this far. Take a moment to admire your work—you’ve put in the effort, and it shows. It might not be perfect, but it’s a reflection of your creativity and dedication, and that’s what truly matters. Be proud of what you’ve accomplished!

[ From Ash ] 𐙚
Hi there🌸
Thank you for checking out my crochet pattern! I hope you find joy and inspiration in the patterns I share.
If you create any amigurumi using my patterns, I would be thrilled and honored if you could give me credit in your posts. Sharing your creations and crediting the pattern helps our crochet community grow and allows others to find and enjoy these patterns too. 🧶✨
I’m grateful for your support and can’t wait to see your beautiful work. Feel free to leave a comment if you have any questions or just want to share your project.
Happy crocheting! ❤️
2 comments