How to Crochet Breakfast Mini Keychains : Free Pattern
Do you love pastries, breakfast meals, or just food in general? If so, you’re in the right place! Today, I’m sharing not a recipe (because let’s be honest—I can’t cook to save my life), but something even better: a crochet pattern to make these adorable mini foods! 💖
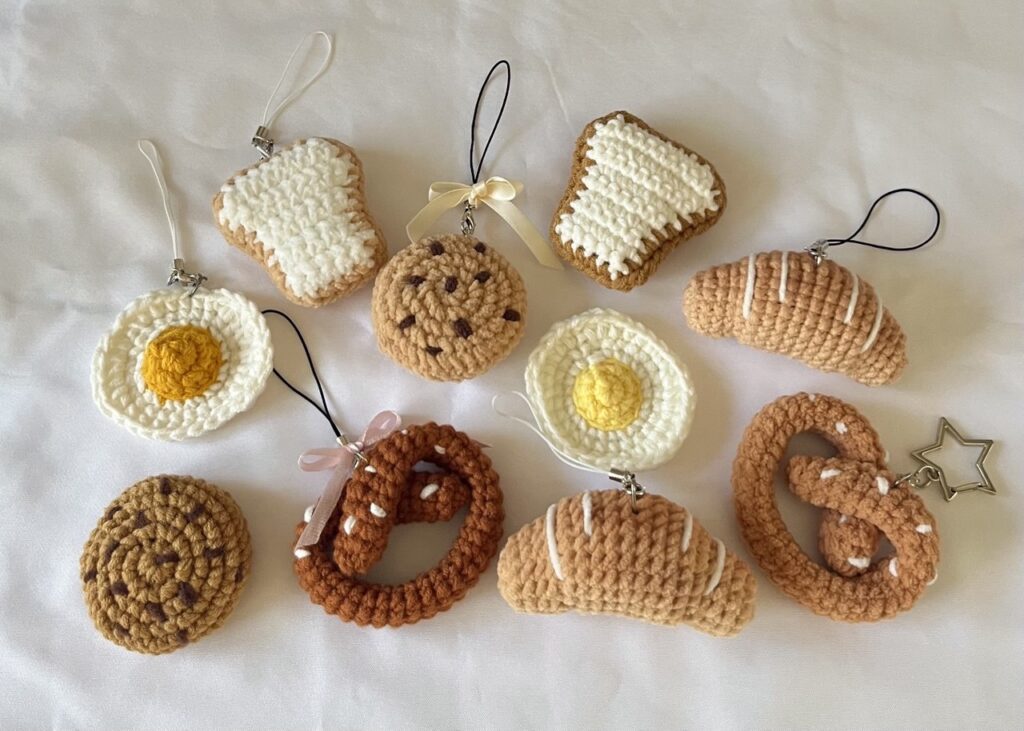
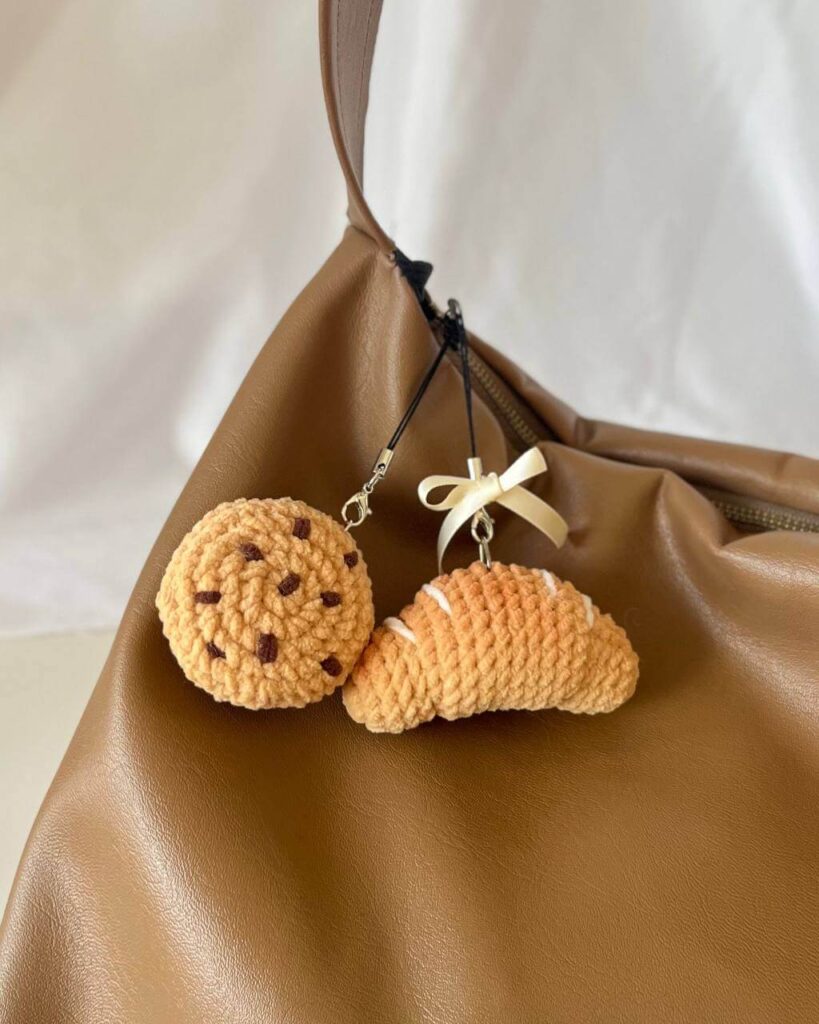
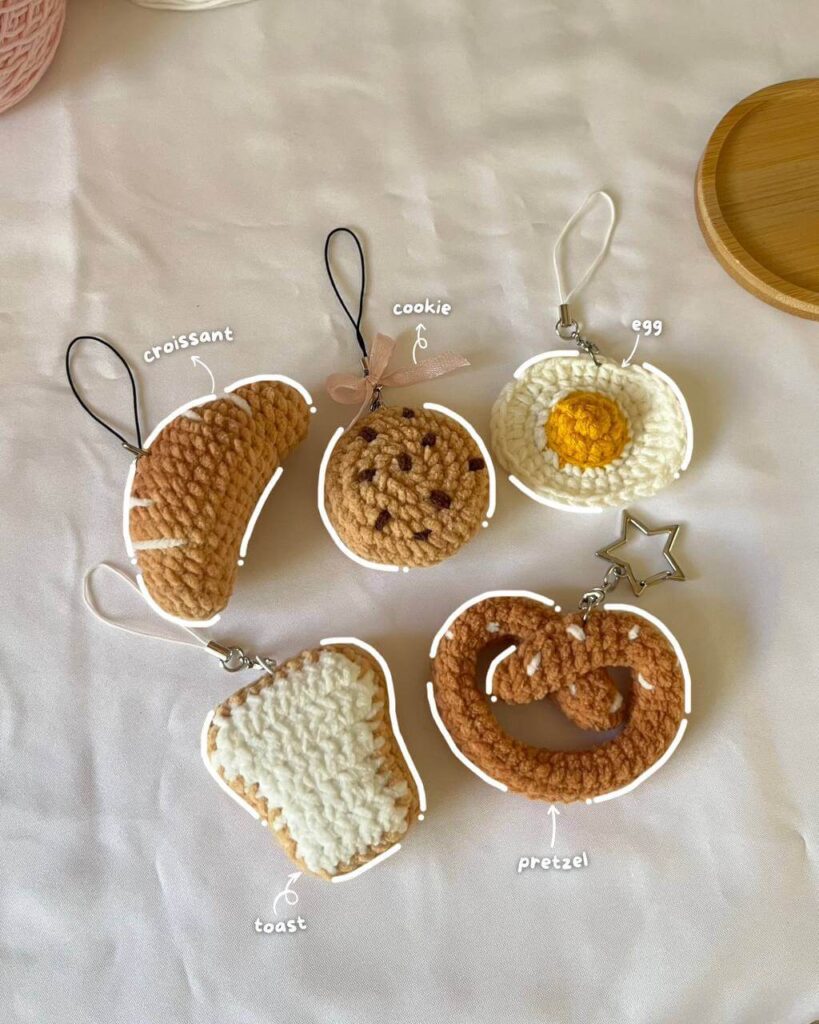
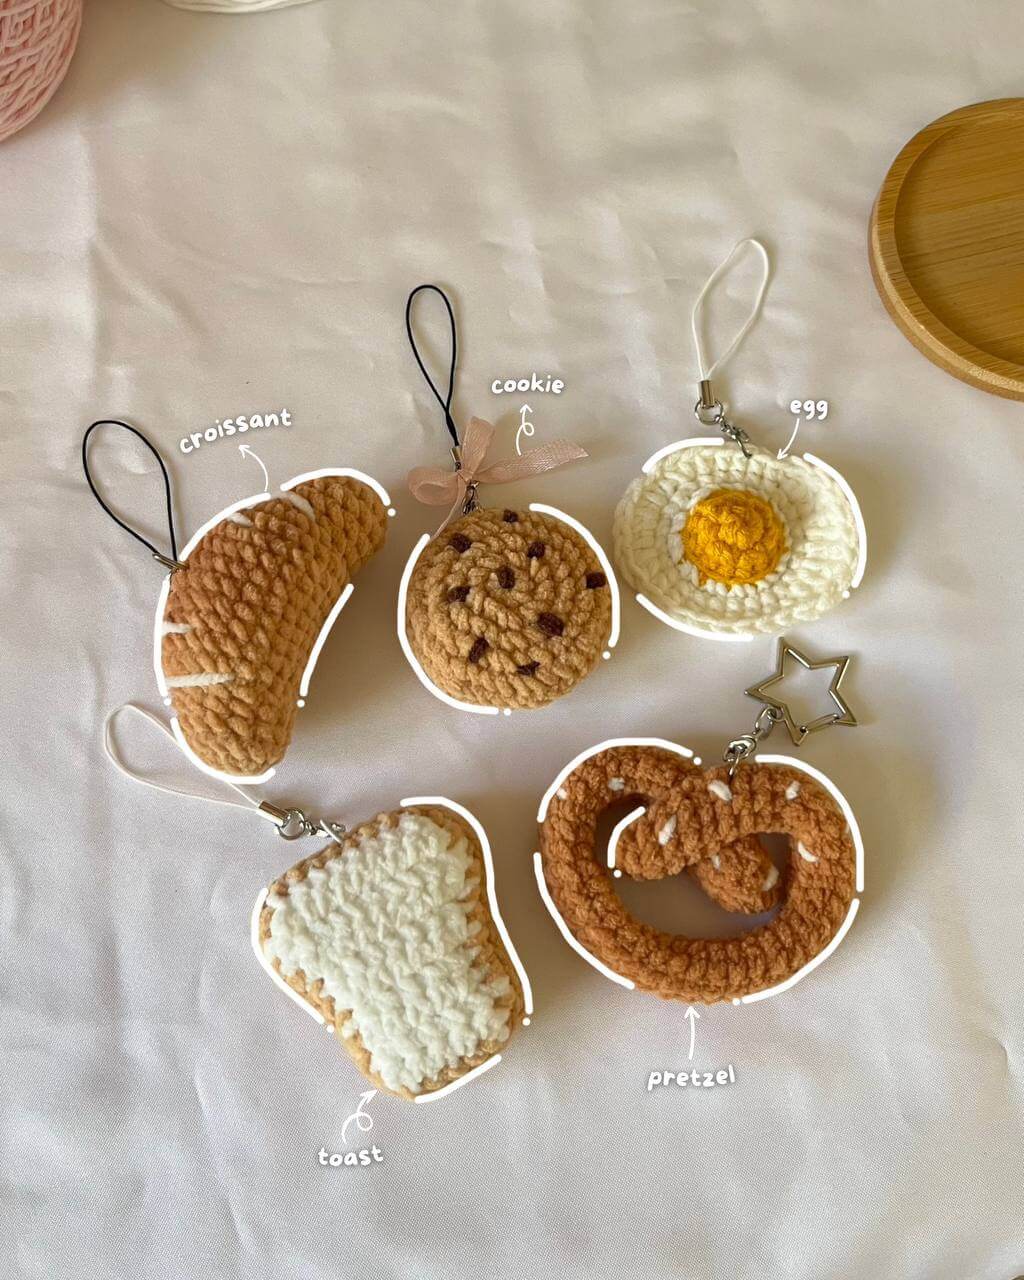
For this project, I chose five classic foodie favorites: a croissant, pretzel, egg, toast, and chocolate chip cookie. These are not only fun and easy to crochet but also instantly recognizable. Plus, they make the perfect handmade gift for your foodie friends!
I’d love to hear your thoughts—do you have a favorite among these? Let me know in the comments!
Copyright Notice @chubbiesbyash__ The crochet patterns shared on this blog are designed by me and are for personal use only. You are welcome to sell any finished items made from these patterns, but mass production and selling the patterns themselves are not allowed. Please don’t use the photos from this blog without permission. If you share your creations, I’d appreciate it if you credit me with a link to my blog, Instagram or YouTube channel as this helps me grow as a creator. Thanks for your support!
Do not miss out any details! Open this video as you crochet along to make the process more effective and time-saving.
Materials Needed
- Cotton(5ply) , Acrylic, Sport or Thin Chenille yarn in White, Light & Dark Brown, Yellow
- 3mm crochet hook
- Stuffing material
- brown eyeshadow (optional)
- stitch markers, darning needle and scissors
Crochet Abbreviations
The abbreviations are in US terminology.
- Ch – Chain
- st – stitch
- R – round / row
- mr – magic ring
- sc – single crochet
- inc – increase
- dec – decrease
- hdc – half double crochet
- dc – double crochet
- BLO – back loop only
- FLO – front loop only
- slst – slip stitch
- *- repeat
- [] – total stitch count in each round/row
Jump to Pretzel, Fried Egg, Toast or Chocolate Chip Cookies !
Croissant
Start with a magic ring using light brown yarn.
R1 7sc in mr, 1slst (into the 1st sc) [7]
R2 Ch1, 7inc, 1slst [14]
R3-R5 Ch1,14sc, 1slst (2 rounds) [14]
R6 Ch1, 4inc, 6slst, 4inc, 1slst [16sc, 7slst]
R7 Ch1, 8sc, FLO 6sc, 8sc, 1slst [22]
R8-R14 Ch1, 22sc, 1slst (7 rounds) [22]
R15 Ch1, 8sc, 6slst, 8sc, 1slst [16sc, 7slst]
R16 Ch1, 4dec, FLO 6sc, 4dec, 1slst [14]
- Start stuffing. Stuff the top part more to make it round and curvy, leaving the bottom flatter for a natural croissant shape.
- Continue stuffing after each following round.
R17-19 Ch1,14sc, 1slst (3 rounds) [14]
R20 Ch1, 7dec [7]
- Cut the yarn leaving a long tail and close the croissant.
- Watch this part of the tutorial to see how to close, using the remaining yarn tail.
- (Recommended) Using light and dark brown eyeshadow, paint the croissant to make it look more realistic. Watch here for more details!
Fried Egg
Using Yellow yarn, start with a magic ring.
R1 6sc in mr, 1slst [6]
R2 Ch1, 6inc, 1slst [12]
R3 Ch1, 12sc, 1slst [12]
- Switch to White yarn in the last sc of R3 and continue using White until the end.
R4 BLO Ch1, 12inc, 1slst [24]
R5 Ch1, 24sc, 1slst [24]
R6 Ch1, (1hdc, 1hdc inc) *2, 8sc, (1dc, 1dc inc) *3, 4sc, 1hdc, 1hdc inc, 1slst [30]
- Cut the yarn and weave in the ends.
Pretzel
Start with a magic ring using dark brown yarn.
R1 6sc in mr [6]
R2 (2sc, 1inc) *2 [8]
R3-R47 8sc (44 rounds) [8]
- Cut the yarn and close the remaining hole.
- Bend the ends and sew them together to form the pretzel shape.
- Use white yarn to embroider the top for a sprinkled sugar effect.
Toast
Using White yarn, start with a slip knot.
R1 Ch7, starting from 2nd ch from the hook, 6sc [6]
R2-R4 Ch1, Turn, 6sc (3 rows) [6]
R5 Ch1, Turn,1inc, 4sc, 1inc [8]
R6 Ch1, Turn, 8sc [8]
R7 Ch1, Turn,1inc, 6sc, 1inc [10]
R8 Ch1, Turn,1inc, 8sc, 1inc [12]
R9 Ch1, Turn,1dec, 8sc, 1dec [10]
R10 Ch1, Turn,1dec, 6sc, 1dec [8]
- Switch to Brown yarn in the last dec of R10!
- Using the Brown yarn, crochet along all four sides to get a bread-like border.
- Crochet in anticlockwise direction: 10sc on 1st side, 6sc in the bottom (2nd side), 10sc on 3rd side, 8sc on the last row (4th side).
- Make 1slst into the 1st sc and cut the yarn leaving a long tail of about 14inches.
- Make another piece and cut the yarn short. Sew the two pieces together using the long yarn tail and put some stuffing inside.
- Watch this part of the tutorial for more details.
Chocolate chip cookies
Using Brown yarn, start with a magic ring.
R1 8sc in mr, 1slst [8]
R2 Ch1, 8inc, 1slst [16]
R3 Ch1, (1sc, 1inc) *8, 1slst [24]
R4 Ch1, (1sc, 1inc, 1sc) *8, 1slst [32]
R5 Ch1, (3sc, 1inc) *8, 1slst [40]
R6 Ch1, 40sc, 1slst [40]
R7 Ch1, (3sc, 1dec) *8, 1slst [32]
- Cut the yarn leaving a long tail of about 14 inches.
- Make another piece (the base) by simply repeating R1-R4. When you are finished, cut the yarn short.
- Placing the right side facing towards you, sew the two pieces together using the long yarn tail and put some stuffing inside.
- With a piece of dark brown yarn, embroider the chocolate chips on the surface.
- Watch this part of the tutorial for more details.
And there you have it! You’ve done an amazing job getting this far. Take a moment to admire your work—you’ve put in the effort, and it shows. It might not be perfect, but it’s a reflection of your creativity and dedication, and that’s what truly matters. Be proud of what you’ve accomplished!
[ From Ash ] 𐙚
Hi there🌸
Thank you for checking out my crochet pattern! I hope you find joy and inspiration in the patterns I share.
If you create any amigurumi using my patterns, I would be thrilled and honored if you could give me credit in your posts. Sharing your creations and crediting the pattern helps our crochet community grow and allows others to find and enjoy these patterns too. 🧶✨
I’m grateful for your support and can’t wait to see your beautiful work. Feel free to leave a comment if you have any questions or just want to share your project.
Happy crocheting! ❤️
2 comments